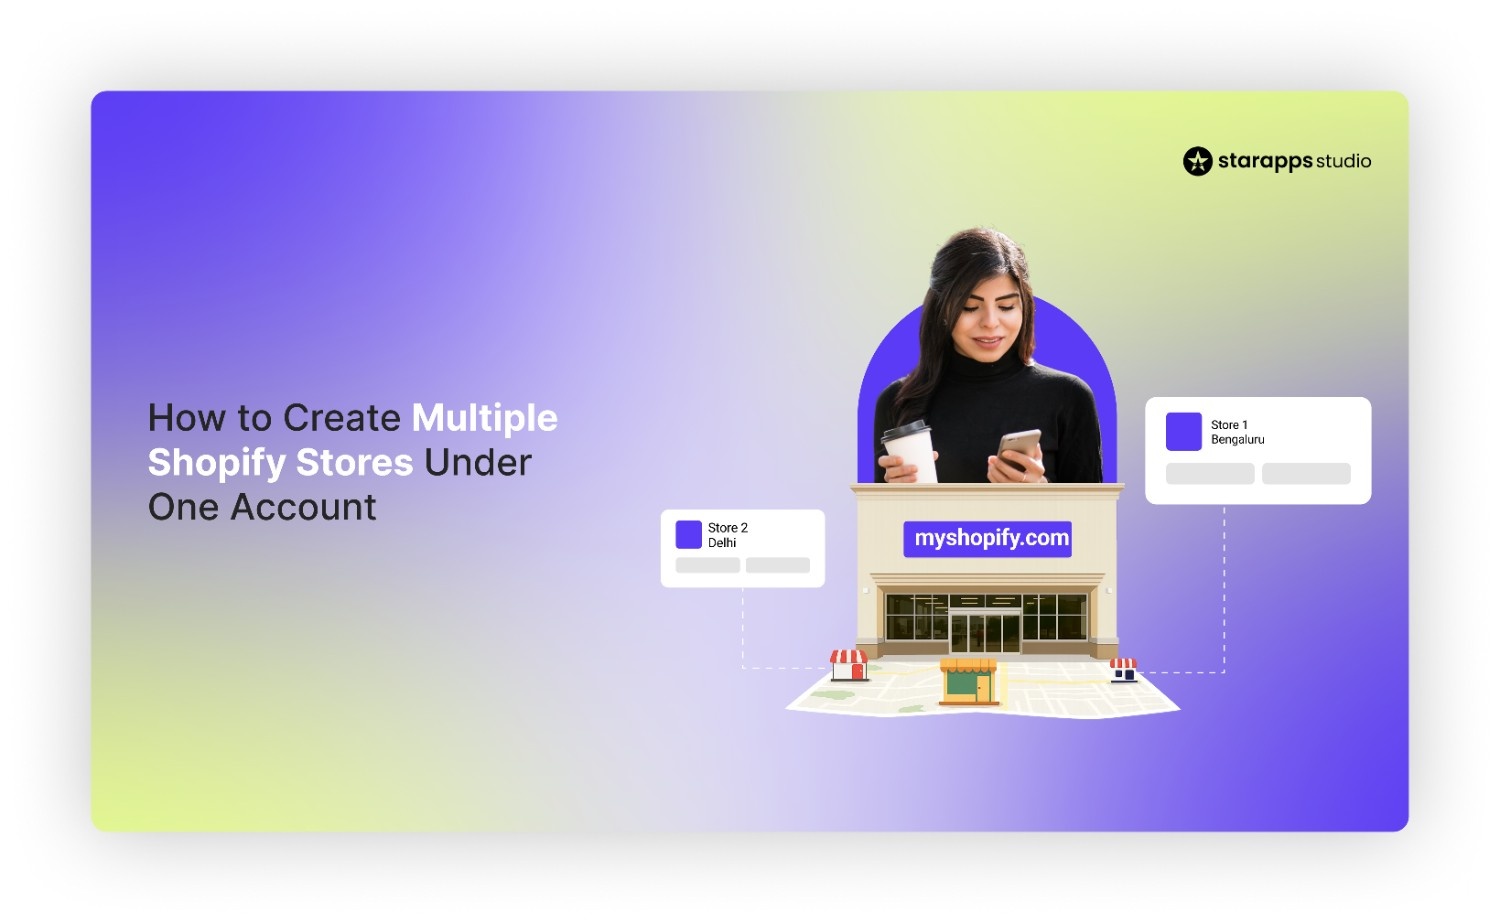

Create another Shopify store on your account. Log in and navigate to the Stores tab to start setup. Choose a unique name and manage billing. Start now!
Running more than one Shopify store is common for brands expanding into new regions, launching a new product line, or separating wholesale from retail. Shopify makes this simple by allowing multiple stores under the same account where each can have its own theme, catalog, apps, and billing.
A second Shopify store gives you full control over a new design and strategy while keeping everything accessible through the same login. This guide explains how to create multiple Shopify stores, the settings you’ll need to configure, and the best way to manage them without repeating work across each one.
Quick Summary
- You can create multiple Shopify stores under one account, but each store has its own plan, billing, products, domain, and apps.
- A second store is useful for new regions, separate branding, wholesale/B2B, or product lines that need their own catalog and pricing.
- Creating a new store takes a few steps: open the Stores dashboard → click Create another store → complete setup → customize and activate.
- Key settings that must be configured separately include themes, domains, payment gateways, shipping, taxes, inventory, and apps.
- Managing several stores is easier with consistent workflows using StarApps tools to keep variant images, swatches, and SEO aligned across all storefronts.
Can You Have Multiple Shopify Stores on One Account?
Yes. Shopify allows you to run multiple stores under the same Shopify login, but each store functions as its own standalone storefront with separate products, themes, apps, and billing.
This structure is intentional: it gives brands the freedom to tailor each store for different regions, business models, or product lines without any overlap or restrictions.
How Shopify Accounts & Stores Work
Shopify splits your setup into two layers:
- Shopify Account (Your Login): This is your single identity with your email and password, which you use to access every store you own or collaborate on.
- Shopify Stores (Your Actual Storefronts): Each store under your account is a separate environment with:
- its own admin panel
- unique products and collections
- independent themes and customizations
- separate apps and integrations
- individual domains and languages
This makes it easy for a single founder, a team, or even agencies to manage several shops from the same login without mixing data.
How Shopify Handles Billing for Multiple Stores
Even though you can access all stores from one login, each Shopify store has its own subscription plan and its own billing cycle. This is a key point many merchants miss.
Here’s how billing works when you create multiple stores:
- Every store requires its own paid Shopify plan (Basic, Shopify, Advanced, Plus, etc.). The only exception is development stores created under a Shopify Partner account, which remain free until a plan is selected.
- Apps are billed per store, even if you install the same app across multiple stores.
- Your stores can each have different plans, depending on their size and requirements.
- Trial periods are also separate per store.
In short: One login, multiple independent stores with separate billing.
This helps keep your finances clean and ensures each storefront can scale at its own pace. Once you know you can run multiple stores under one account, it helps to look at the common cases where a second store makes sense.
Recommended: How to Add, Manage & Optimize Multiple Product Options in Shopify.
Why You May Want Multiple Shopify Stores
Running more than one Shopify store becomes useful when your business needs go beyond what a single storefront can handle. A second (or third) store gives you full control over catalog structure, branding, pricing, and regional experiences without forcing everything into one theme or one set of settings.
Here are the most common reasons merchants create multiple Shopify stores:
- International Expansion: Launch region-specific stores (US, EU, APAC, etc.) with different catalogs, tax rules, and shopping experiences.
- Different Currencies & Languages: Offer fully localized storefronts rather than relying solely on auto-translations or currency converters.
- B2B vs. B2C Separation: Serve wholesale customers with different pricing, order rules, payment terms, and product visibility.
- Separate Branding or Sub-Brands: Maintain distinct identities when one company operates multiple brands or verticals.
- Different Product Lines: Avoid mixing unrelated categories in one store—each product family gets its own tailored funnel.
- Region-Specific Inventory: Manage availability for markets with different suppliers, warehouses, or compliance constraints.
- Wholesale Separation: Keep distributor pricing, order minimums, and large-volume workflows isolated from your retail operations.
If any of these situations apply to your brand, here’s how to set up your second Shopify store.
How to Set Up a Second Shopify Store Under One Account
Creating another store under your existing Shopify account is quick and follows the same onboarding path as your first store. Below are the exact steps you’ll see in your dashboard.

1. Log in to your existing Shopify account
Sign in using the same credentials you use for your primary store. Once logged in, you'll land on the main Home dashboard for your current store. You don’t need a new email or a new Shopify account for additional stores.
2. Go to the Stores dashboard
Click your profile icon in the top-right corner. Here, select Stores to open the list of all stores linked to your account. This page shows every store you manage and lets you switch, create, or access permissions.
3. Select “Create another store.”
On the Stores page:
- Click Create another store
- Choose your store type (standard store, development store if you’re a Partner, etc.)
Shopify will then take you to the setup wizard.
4. Enter your new store name
Shopify will prompt you to:
- Add a store name
- Confirm your purpose for creating the store
- Answer a few quick setup questions (non-mandatory)
Your store name acts as your temporary Shopify URL, which you can replace with a custom domain later.
5. Complete Shopify's initial setup prompts
Shopify will walk you through basic steps such as:
- Adding your business location
- Selecting your plan (you can skip this and start with the trial)
- Indicating product types or sales channels
You can adjust all of these later inside the admin.
6. Customize and activate the new store
At this stage, the store shell is created. Now you can:
- Pick a theme
- Add products or import catalog data
- Install apps
- Configure payments, shipping, and taxes
- Connect your domain
Your store becomes active once you choose a paid plan and complete setup. However, once your new store is created, a few important settings still need to be configured separately.
Also, Check: How to Customize Shopify Product Pages for Better Sales.
What You Must Set Up Separately in Your New Store

Every Shopify store under your account functions as its own environment. This means several core settings don’t carry over automatically and must be configured individually.
1. Billing & Plan Selection
Each store has its own billing, even if they're under the same login. You’ll need to do the following:
- Choose a Shopify plan for the new store
- Add payment details
- Manage subscriptions, usage charges, and app fees separately
Merchants with multi-region, B2B, or multi-brand setups often select different plans depending on each store’s expected sales volume.
2. Themes
Themes do not sync across stores automatically. You can:
- Install the same theme again from the Theme Store
- Duplicate a purchased theme if the license allows
- Upload a theme file exported from another store
- Reapply customizations (code edits aren’t transferable by default)
This ensures each store can have its own branding, layout, and content.
3. Domains
Every store requires its own domain or subdomain. Your options include:
- Connecting a new custom domain (e.g., brand.co.uk for a UK store)
- Using subdomains (e.g., eu.brand.com, wholesale.brand.com)
- Buying a domain directly through Shopify
DNS, SSL, and redirection settings are also configured per store.
4. Apps & Integrations
Apps are installed per store, not per account. You’ll need to do the following:
- Reinstall apps required for your new setup
- Configure app settings separately
- Pay app fees for each store (unless the app vendor supports multi-store pricing)
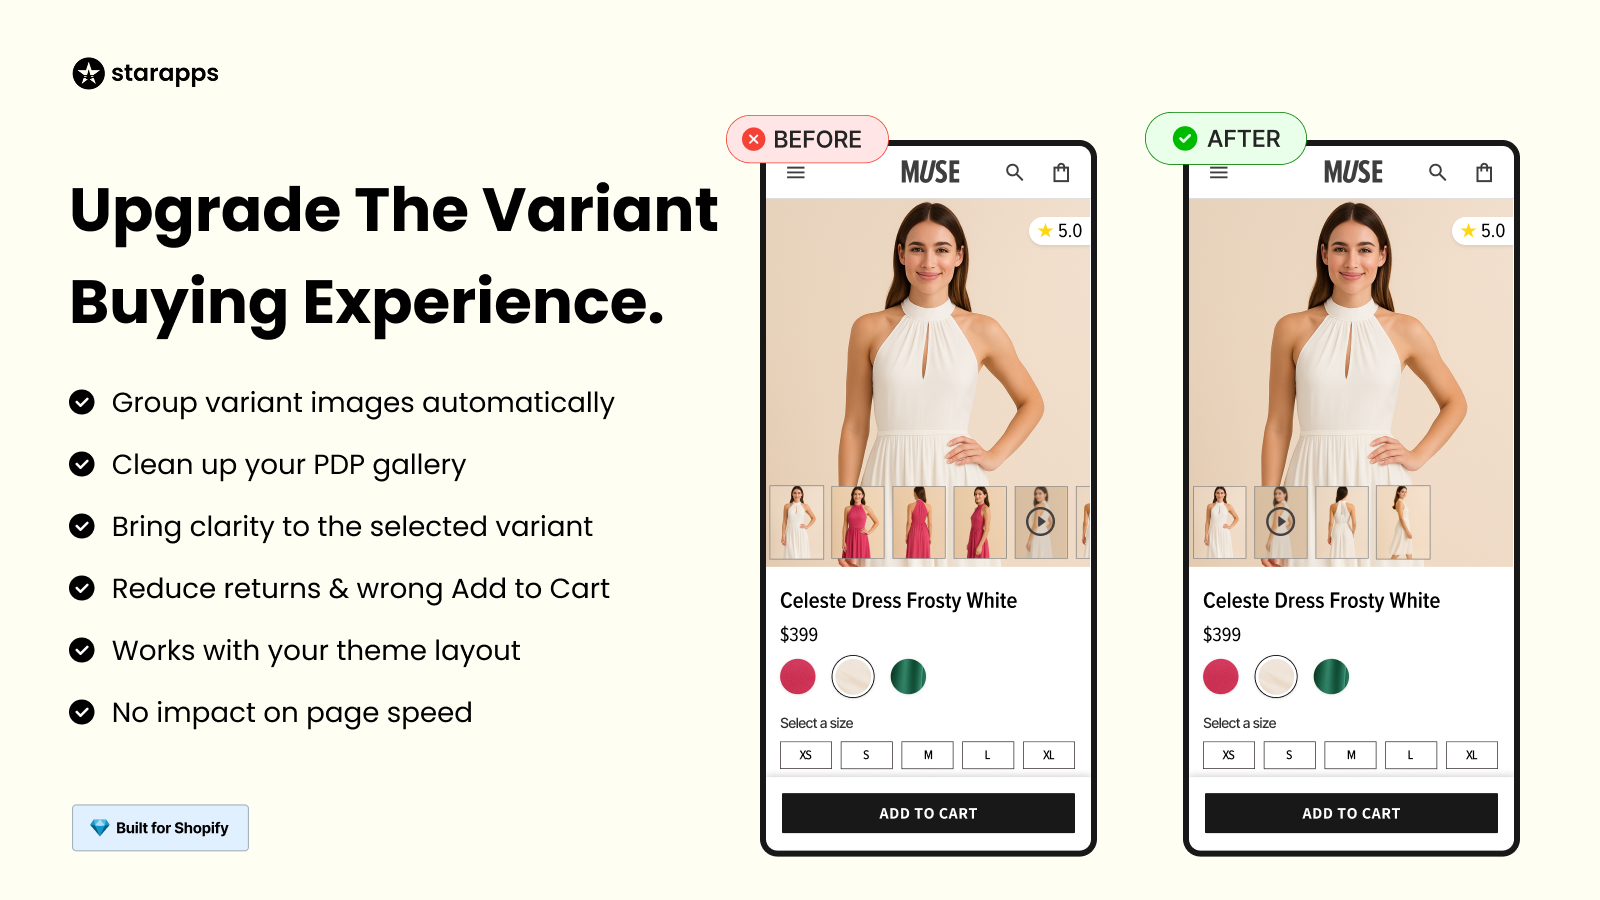
When managing multiple stores with similar catalogs, maintaining consistency can take a lot of manual effort. StarApps Studio offers tools that standardize variant images, swatches, titles, descriptions, and SEO elements across storefronts. It helps ensure every store maintains consistent clarity, accuracy, and visual quality without rebuilding these elements from scratch.
5. Inventory & Product Data
Inventory isn’t shared automatically across stores. For the new store, you must:
- Add products manually
- Import catalog data through CSV
- Use connectors or multi-store sync apps if you want shared inventory
- Set separate stock levels per location
Multi-region setups often keep different warehouses or availability rules, so having independent inventory is useful.
6. Payment Gateways
Payment providers must be configured from scratch. Steps include:
- Setting up Shopify Payments or third-party gateways
- Adding payout details
- Enabling local payment methods depending on the region
- Configuring fraud, dispute, and refund settings
Payment verification is also handled separately for each store.
7. Shipping & Taxes
Shipping settings do not carry over, especially important when stores serve different regions. You’ll need to configure:
- Shipping profiles
- Carrier integrations
- Zone-based rates
- Local delivery or pickup (if applicable)
Taxes also operate independently, which matters for stores targeting multiple countries with different compliance rules.
Also Read: 14 Proven Tips to Boost Revenue During BFCM 2026 and Maximize Sales.
Once the separate setup tasks are handled, it’s important to be aware of the limitations that come with running more than one Shopify store.
Limitations of Managing Multiple Shopify Stores
Running several Shopify stores gives you flexibility, but it also introduces extra work across setup, maintenance, and optimization. Here are the most common constraints:
- Separate Dashboards: Each store has its own admin area, which means you switch back and forth to manage products, orders, apps, and settings.
- No Shared Checkout: Shopify does not offer a unified checkout across stores, so customers can’t move between storefronts with a single cart or account.
- Duplicate SEO Work: Meta titles, descriptions, alt text, redirects, and structured data need to be configured independently for every store.
- No Built-In Inventory Sync: Stock levels don’t sync automatically. Merchants often rely on spreadsheets or apps to avoid overselling across regions or brands.
- Apps Billed Per Store: Most apps treat each store as a unique subscription, which can increase costs when scaling.
- Extra Localization Work: Translating content, adjusting currency rules, building region-specific menus, and updating legal pages all need to be repeated.
- Double Analytics & Tracking Setup: GA4, Meta Pixel, tracking events, and conversion APIs must be configured separately for every storefront.
Now that the limitations are clear, the next step is focusing on the workflows and tools that make managing multiple stores far easier.
How to Efficiently Manage Multiple Shopify Stores: Best Practices
Managing several Shopify stores becomes much easier when your workflows stay consistent, and your catalog structure is aligned across regions or brands. The best approach is to reduce repeated work and keep product data uniform so each storefront performs well.
Keep product data consistent across stores
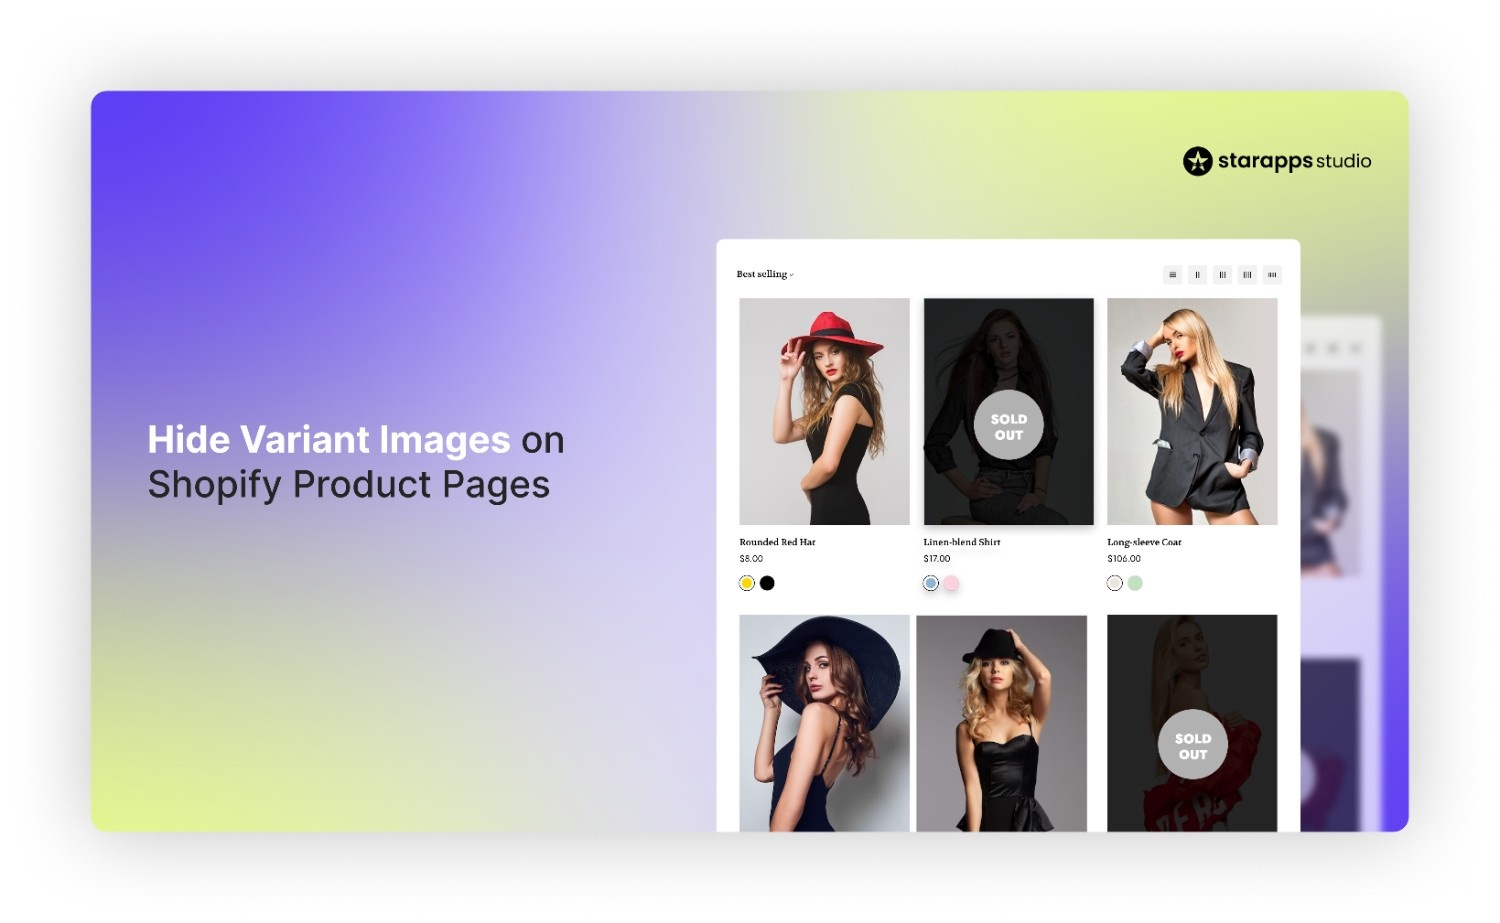
When cloning catalogs for regional or niche stores, product images and variants often break or require manual fixing. StarApps Variant Image Automator helps avoid this by:
- Keeping variant image mapping consistent when duplicating products
- Removing the need to retag or reassign images
- Saving hours of cleanup when setting up similar catalogs in multiple stores
This is especially helpful for brands selling the same SKUs globally.
Maintain consistent variant options & swatches

Visual consistency helps customers recognize your brand experience across all locations. Color Swatch King supports this by:
- Ensuring variant swatches and preview thumbnails look identical in every store
- Aligning the visual style across regional storefronts
- Keeping product option displays uniform, even when themes differ
This helps multi-store merchants maintain a cohesive look without recreating swatches from scratch.
Automate SEO tasks across multiple stores
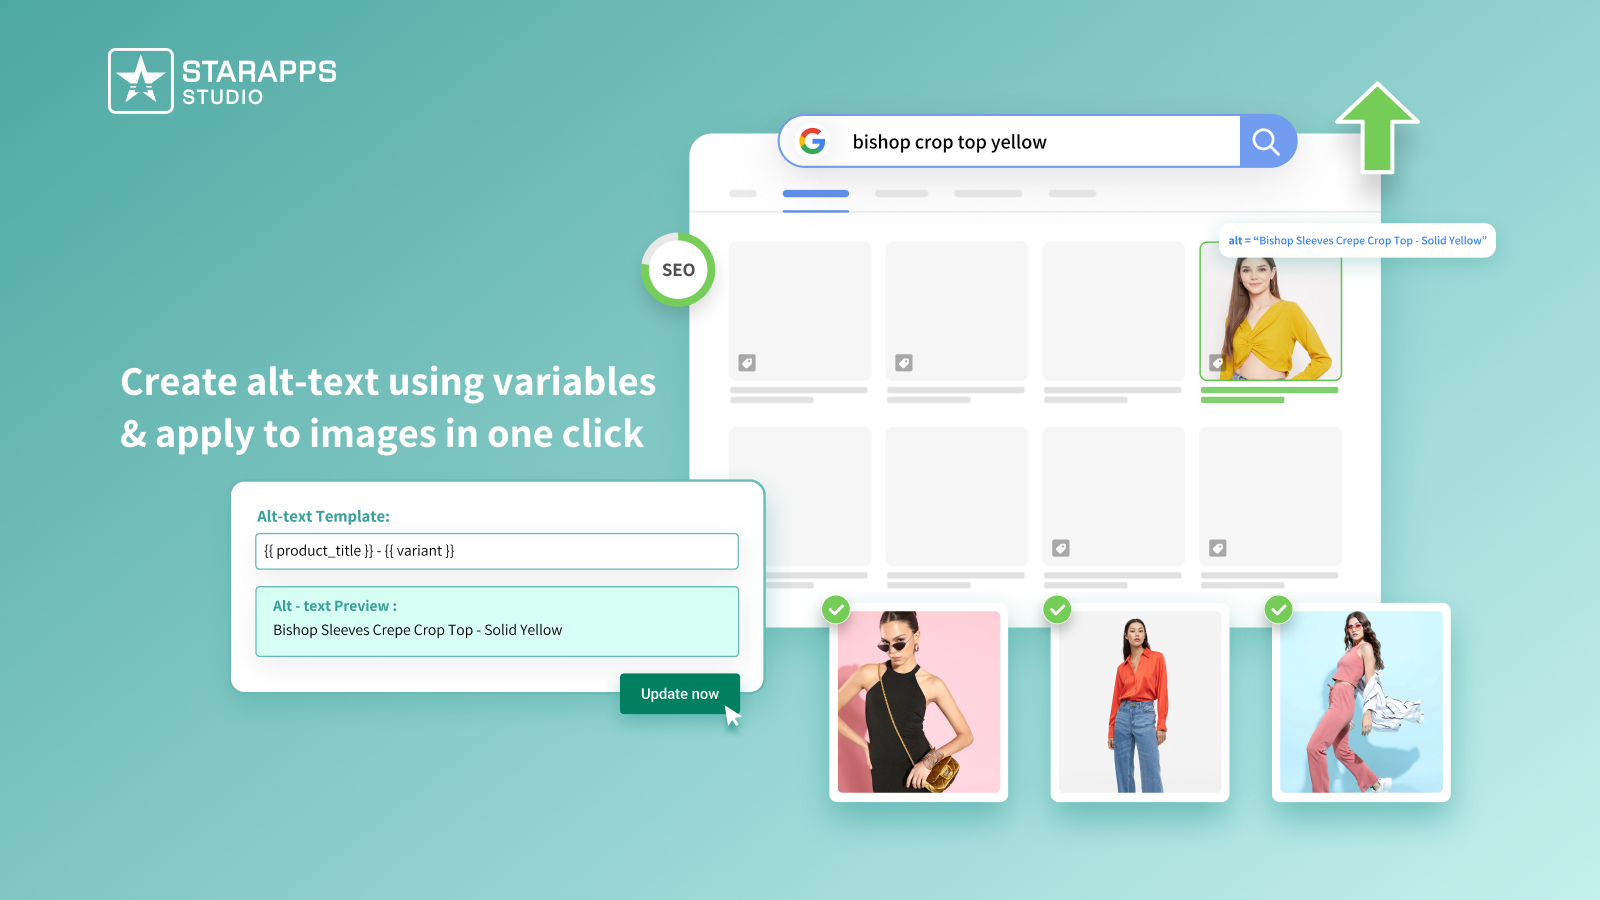
SEO work multiplies quickly when each store needs its own alt text, metadata, and accessibility improvements. Apps like Variant Alt Text King help lighten this load by:
- Generating alt text automatically for every storefront
- Keeping image descriptions consistent across domains
- Preventing SEO gaps when recreating or importing product images
This is useful for international sites where catalogs are similar but managed separately.
Improve variant discoverability on each store
Product variants often behave like separate products in search and filtering, especially across different themes or regions. You can use SA Variants: Combined Listings to improve catalog structure by:
- Grouping variants into cleaner, more discoverable listings
- Supporting better SEO for each market
- Helping customers find the right variant faster in each storefront
This is valuable for merchants offering the same catalog across countries with separate stores and domains.
How to Switch Between Shopify Stores Easily
Managing more than one store is simple once you know where to switch. Shopify gives you quick options depending on where you’re working.
Using the Shopify Admin Panel
- Click your profile icon in the top-right corner
- Select Stores
- Choose the store you want to open
This takes you directly to the admin dashboard of the selected store.
Using the Shopify Mobile App
- Open the app and tap your store name
- Select Switch stores
- Pick the storefront you want to manage
Ideal for quick edits, order checks, or fulfillment on the go.
Staff Permissions
If team members handle multiple stores:
- Assign staff roles separately for each store
- Grant permissions based on tasks (catalog, orders, analytics, apps)
- Use the same login email to avoid switching accounts
This keeps access controlled while still giving staff the flexibility to move between stores.
Optional Tools you can use to organize multi-store workflows
Some brands use:
- Shared SOPs or brand guidelines
- Multi-store inventory sync apps
- Project management tools (Notion, Asana)
- AI-driven catalog automation tools like StarApps for consistency
These help reduce repeat work when maintaining multiple storefronts.
Conclusion
Setting up a second Shopify store gives you the freedom to run regional sites, separate wholesale from retail, or launch new product lines without crowding your main storefront. Because each store has its own billing, catalog, theme, and domain, planning these elements ahead ensures the new store is ready for growth the moment it goes live.
The real work begins after setup, keeping product data, variant images, swatches, and SEO elements consistent across stores. Recreating these details for every storefront can slow teams down, especially when catalogs are similar.
StarApps Studio can help reduce that workload by keeping key elements aligned and cutting down on manual repetition across stores. If you manage more than one Shopify store, try StarApps tools to keep your multi-store setup consistent, accurate, and easier to maintain.
FAQ’s
1. Can I use the same products across multiple Shopify stores without repeating uploads?
Yes. You can export products from one store and import them into another using CSV. For ongoing sync, such as shared inventory, pricing, or variant images, you’ll need third-party tools because Shopify doesn’t offer native multi-store product syncing.
2. Can staff members manage multiple Shopify stores with one login?
Yes. Staff can use the same email address to access multiple stores, but you must assign permissions separately in each store. This keeps control over what every team member can manage.
3. Are customer accounts shared between multiple Shopify stores?
No. Customer accounts are separate for each store. If you want a shared login experience across domains, you’ll need custom development or an app that supports centralized customer data.
4. Can I copy my theme customizations to another Shopify store?
Yes. You can export a theme file from one store and upload it to another, but custom code, metafields, and app-specific settings may need to be reconfigured manually.
5. Will creating multiple Shopify stores affect my SEO?
Only if each store targets the same region with duplicate content. To avoid conflicts, use unique content, region-specific domains, or proper hreflang settings. Multi-store setups aimed at different countries usually benefit from SEO separation.
Heading

End-to-end traceability
To ensure regulatory compliance, you must have a complete overview of your products from production to shipping. Book a demo to see how Katana can give you full visibility of your operations.
.png)
.png)