
Shopify packing slips looking basic and inconsistent? Learn how to add a logo to your packing slip template and improve your post-purchase experience.
Online shopping is growing fast, and more orders are being packed and shipped every day. By 2027, almost a quarter of consumer purchases are expected to happen online. This growth has pushed brands to improve packing and shipping so the experience still feels personal when the order reaches the customer.
But this is where most Shopify stores lose consistency. While storefronts are carefully designed, the packing slip printed from Shopify’s default template still looks plain, showing only items, quantities, and shipping details. There’s no branding, which makes the final delivery feel disconnected.
That’s where a small change like adding a logo makes a visible difference. In this blog, we will discuss how to add a logo image to the Shopify packing slip template step by step.
Overview
- Shopify packing slips use a single Liquid template, and adding a logo involves editing this template and referencing an image uploaded in Shopify Files.
- The logo must be inserted correctly in the template using file_url and placed above the order details to ensure it appears consistently on every print.
- Most errors come from small issues like incorrect file names, broken Liquid syntax, or using low-resolution images that affect print clarity.
- Logo size, spacing, and alignment need to be controlled with inline styling to ensure proper rendering across A4 and thermal printers.
- Once saved, the updated template applies to all future packing slips, so previewing and testing the print output is essential before finalizing.
What Is a Shopify Packing Slip?
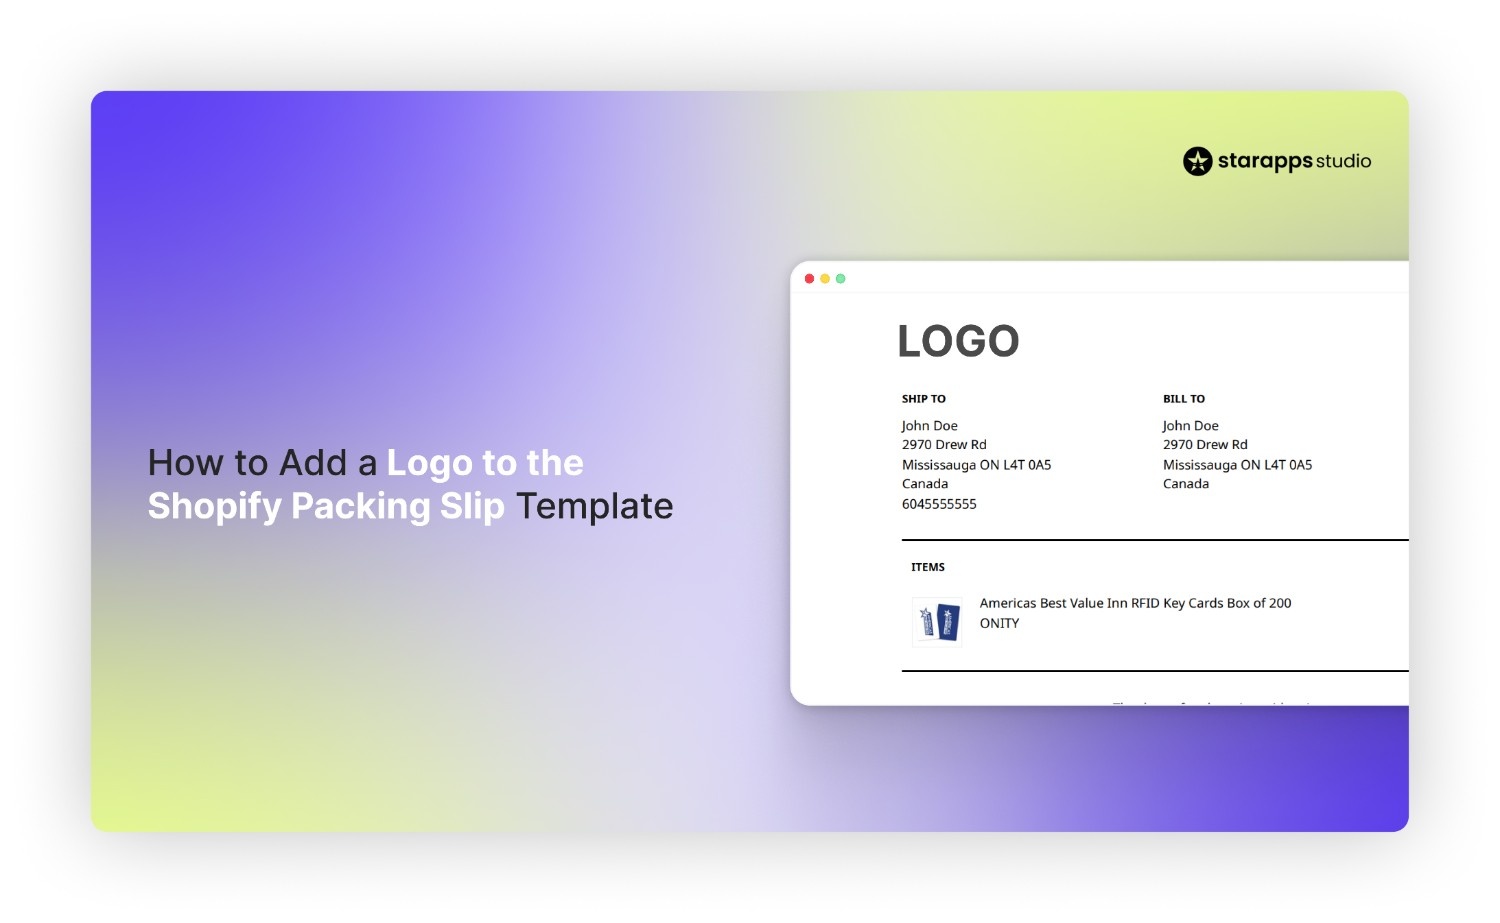
A Shopify packing slip is a printed order document that lists what a customer has purchased, along with shipping details and order information. It’s generated from Shopify’s order system and is used during fulfillment. Adding a logo to the packing slip template helps replace the default plain format with a branded version that reflects your store when the order reaches the customer.
Packing Slip vs Invoice in Shopify
In Shopify, a packing slip is a fulfillment printout used to guide order packing, while an invoice is a financial document that records payment details for the same order. Both are generated from the order system but serve different operational needs in the store workflow.
Here’s how they compare:
Having understood the functional difference, let’s look at why branding your packing slip with a logo directly impacts post-purchase experience.
Also Read: Best Shopify Apps for Product Variants 2026
Why Adding a Logo to Your Shopify Packing Slip Matters?
Most Shopify stores print packing slips as plain order summaries generated from the default template, which only show items, quantities, and shipping details. During fulfillment, this document is physically placed inside or with the package, making it one of the few direct brand touchpoints after checkout.
Here’s why adding a logo directly into the Shopify packing slip template matters:
- Turns a default Shopify printout into a branded fulfillment document: Instead of a generic order sheet, the packing slip visually represents your store when the package is opened or handled.
- Keeps brand identity visible during warehouse handling: Staff picking and packing orders see a consistent store identity, reducing “anonymous order” processing.
- Connects online purchase to physical delivery experience: The logo bridges the Shopify storefront with the real-world package the customer receives.
- Improves clarity in mixed or multi-store fulfillment environments: In bulk or third-party fulfillment setups, branding helps distinguish orders quickly.
- Replaces default template structure without changing Shopify functionality: The edit is purely visual inside the Liquid template, so there's no impact on order data or workflow.
Now that we know why branding matters, let’s quickly understand how Shopify actually generates packing slips behind the scenes.
How Do Shopify Packing Slip Templates Work?
Shopify packing slips are generated from one Liquid template in your admin that pulls live order data whenever you print an order. Each print uses the same template again, dynamically rebuilding the slip for that specific order.
Here’s how it works in real use:
- One template controls every printed slip: You edit one packing slip file, and that same layout is used for all future orders.
- Order details are filled only when you print: Shopify pulls data like items, quantities, and shipping address at print time and inserts it into the template.
- No logo or branding exists by default: The template starts plain, so any logo or visual element must be manually added through code.
- It doesn’t store finished slips per order: Each print action generates a fresh version instead of saving individual files.
- Any update to the template applies instantly to all future printed slips: Once you save changes, every new packing slip reflects the updated template instantly.
Once the system structure is clear, let’s move into the exact step-by-step process to add your logo to the packing slip template.
Step-by-Step Guide to Add Logo Image into Shopify Packing Slip Template
Adding a logo to a Shopify packing slip requires editing the Liquid template used for printed orders and linking a hosted image from Shopify Files. Shopify doesn’t offer a built-in logo field, so adding branding requires manual template editing. Once added, the logo will appear on every future printed order slip generated from the updated template.
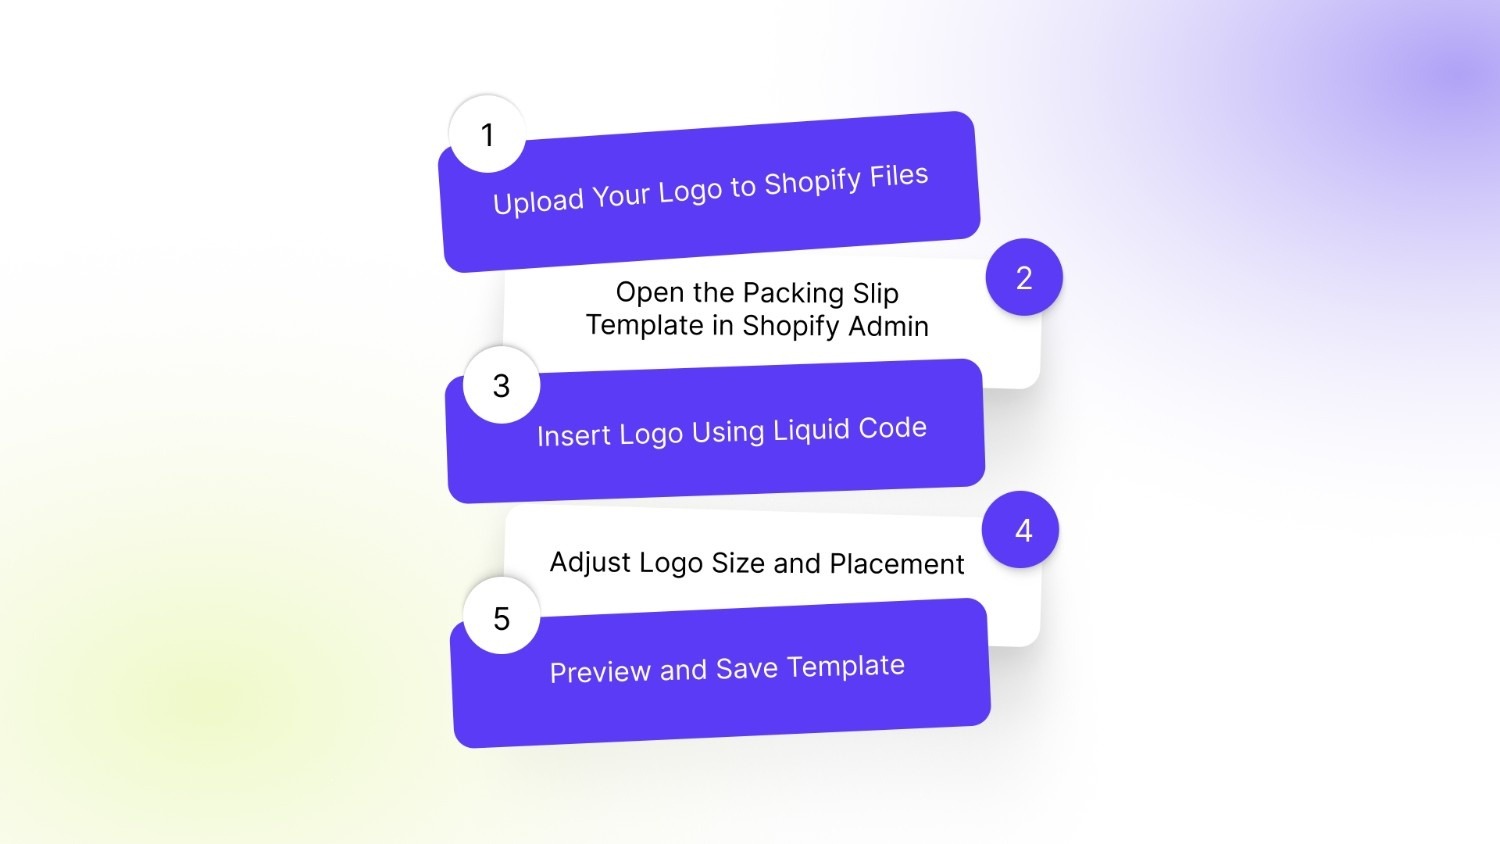
Step 1: Upload Your Logo to Shopify Files
Open Shopify Admin → Settings → Content → Files. Upload your logo as a high-resolution PNG (preferred for print clarity). After upload, click the file and copy the full file URL or confirm the exact filename shown in Shopify’s file manager, since this will be referenced in the template code.
Step 2: Open the Packing Slip Template in Shopify Admin
Go to Shopify Admin → Settings → Shipping and delivery → Packing slips → Edit template. This opens Shopify’s Liquid editor, which controls the layout of all printed packing slips. This is a single global template, so any change applies to all future printed slips.
Step 3: Insert Logo Using Liquid Code
Inside the template, locate the top section above the order details block. Insert the image tag using Shopify’s file reference:
<img src="{{ 'your-logo-file-name.png' | file_url }}" alt="{{ shop.name }}" style="max-width:180px; display:block; margin-bottom:10px;">
Replace your-logo-file-name.png with the exact uploaded file name from Shopify Files. This ensures the logo loads dynamically whenever a packing slip is printed.
Step 4: Adjust Logo Size and Placement
Control how the logo prints by modifying inline styles:
- Max-width: 150px–200px for standard thermal or A4 printing
- Display: block prevents inline distortion
- Margin-bottom: 10px keeps spacing before order details
- Wrap in a <div style="text-align:center;">: if center alignment is needed on printed output
Placement should remain above the {% if shipping_address %} or order header block so it appears at the top of every packing slip.
Step 5: Preview and Save Template
Click Preview inside the editor to generate a test packing slip using a real order format. Check:
- Logo visibility on print preview
- Alignment and spacing consistency
- Scaling on A4 or thermal format (depending on printer setup)
Once confirmed, click Save. The updated template will apply only to future printed orders and will not modify past slips.
After setup, issues can still appear during printing, so let’s go through the most common problems merchants face.
Also Read: How to Send Back in Stock Notifications in Shopify Easily
Common Issues When Adding a Logo to Packing Slips
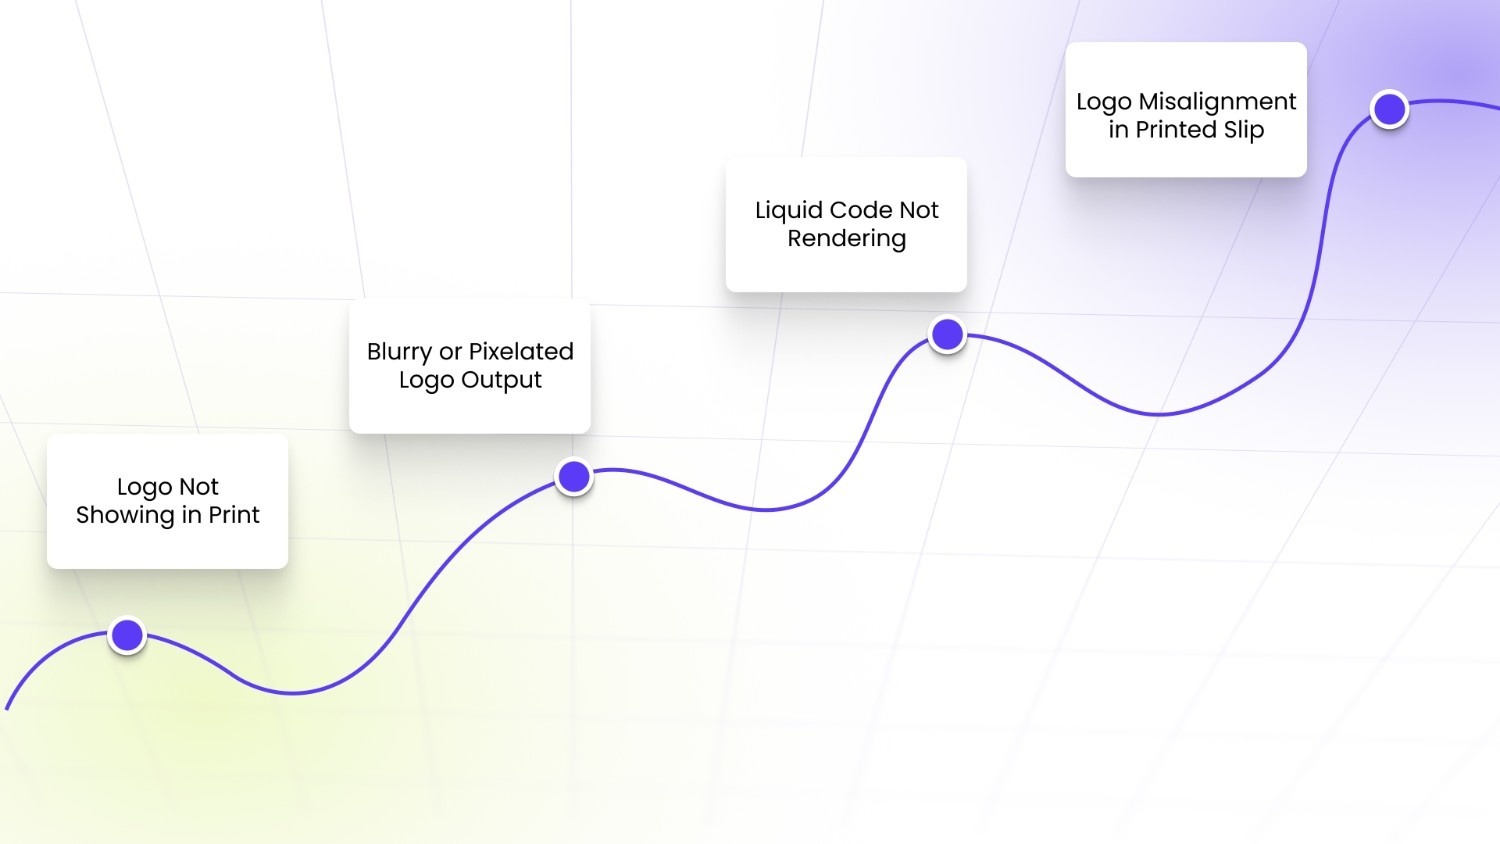
When a logo is added to Shopify’s packing slip template, most problems come from file referencing, Liquid syntax, or print rendering behavior. These issues usually show up only when the slip is printed, not while editing.
1. Logo Not Showing in Print
This happens when the src in the <img> tag does not exactly match the file uploaded in Settings → Content → Files. Even a small mismatch in filename (capital letters, spaces, or extension like .png vs .jpg) will break the image. If the file URL is used instead of file_url, it may also fail in the template context.
2. Blurry or Pixelated Logo Output
This occurs when the uploaded logo is low resolution (typically under ~1000px width). Shopify scales the image during print rendering, so small or compressed files stretch and lose clarity on A4 or thermal prints.
3. Liquid Code Not Rendering (Template Error)
This usually comes from broken syntax inside the packing slip editor: missing quotes in {{ 'logo.png' | file_url }}, placing the <img> tag inside an invalid {% if %} block, or pasting HTML outside the template structure. When this happens, Shopify may fail to generate the print preview entirely.
4. Logo Misalignment in Printed Slip
This is caused by missing or inconsistent inline CSS. Without explicit rules like display block, max-width, or margin control, the logo shifts based on printer type (thermal vs A4) or browser print settings. This often pushes order details out of alignment.
Once the technical setup is stable, the next focus shifts to improving readability and print quality across fulfillment workflows.
Best Practices for Designing Shopify Packing Slips
A Shopify packing slip is printed and handled during fulfillment, so design choices should prioritize clarity, scan speed, and consistent branding rather than visual decoration. Since it moves through warehouse hands and ends up inside customer parcels, even small formatting decisions affect readability and print output.
Here’s what to follow when setting it up:
- Use a high-resolution transparent logo (PNG, 1000px+ width): Upload a sharp PNG so it scales cleanly on both A4 and thermal printers. Avoid low-res or JPG files, as they blur or create background blocks when printed.
- Keep the layout strictly order-first, not design-heavy: Remove anything that isn’t essential to fulfillment: no banners, marketing text, or extra sections that slow down scanning of order details.
- Stick to simple, print-safe styling only: Use basic spacing and alignment rules instead of custom fonts or complex CSS, since print rendering differs across browsers and printers.
- Place the logo above all order and shipping data: Position it at the top of the template so it anchors branding without interfering with order ID, item list, or shipping address flow.
- Test print on real formats before saving changes: Always preview using Shopify’s print function and check both A4 and thermal outputs to catch scaling issues, alignment shifts, or cut-off content before it goes live.
With a clean packing slip in place, you can now extend its role into strengthening your post-purchase brand experience.
Enhancing Post-Purchase Brand Experience in Shopify Stores
A Shopify packing slip is one of the few physical touchpoints that reach the customer after checkout. When structured properly, it can reinforce brand recall and reduce post-order friction without changing how fulfillment works.
Here’s how to use it effectively:
- Add a short, placement-specific thank-you line under the logo: Keep it minimal like “Thanks for your order,” positioned directly below the logo so it is seen before order details, without interfering with packing flow.
- Place a store URL or QR code in the footer zone: Add a scannable QR or short URL at the bottom of the slip so customers can re-enter your shopify store without needing emails or search.
- Include return instructions in a separated, scannable block: Keep it structured (not paragraph-heavy) and place it after order items so warehouse staff and customers can quickly reference it if needed.
- Add a next-purchase discount code as a single-line trigger: Position it at the bottom like “Use CODE10 on your next order” so it encourages repeat purchase without distracting from fulfillment data.
Once your backend documents are branded, your storefront should match that same level of clarity and consistency.
Also Read: Top AI Tools for Shopify Stores 2026
How StarApps Studio Helps You Maintain Brand Consistency Beyond Packing Slips
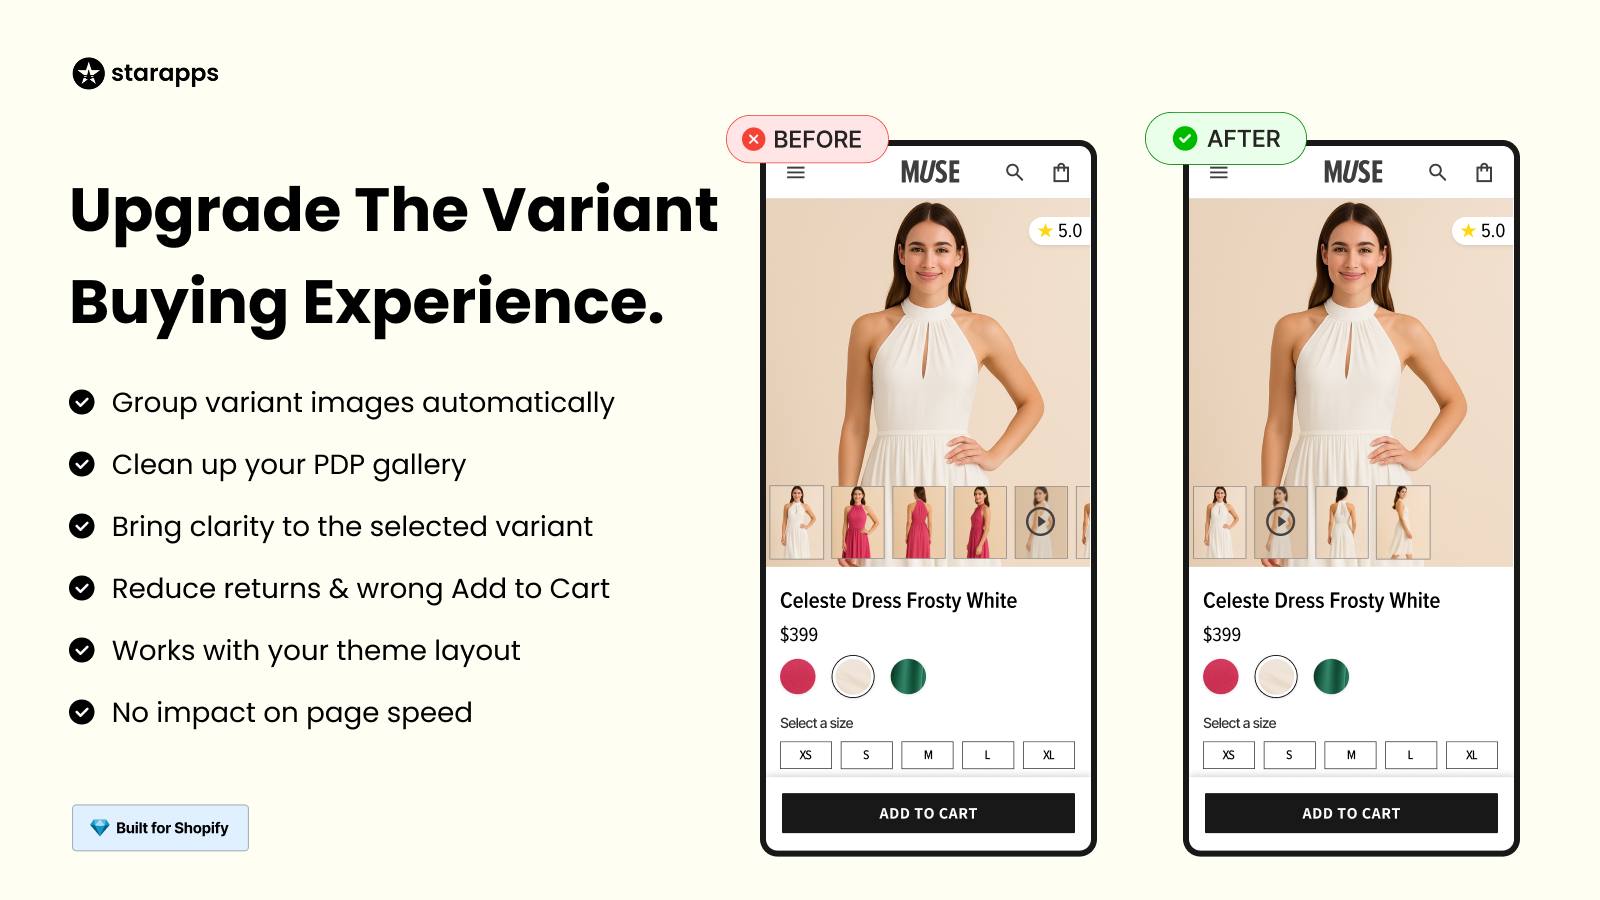
Once you’ve customized your packing slips to reflect your brand, the next gap usually appears on the storefront. On product and collection pages, variant presentation often feels inconsistent or confusing. That’s where StarApps Studio fits in without overcomplicating your setup.
Our range of tools offers:
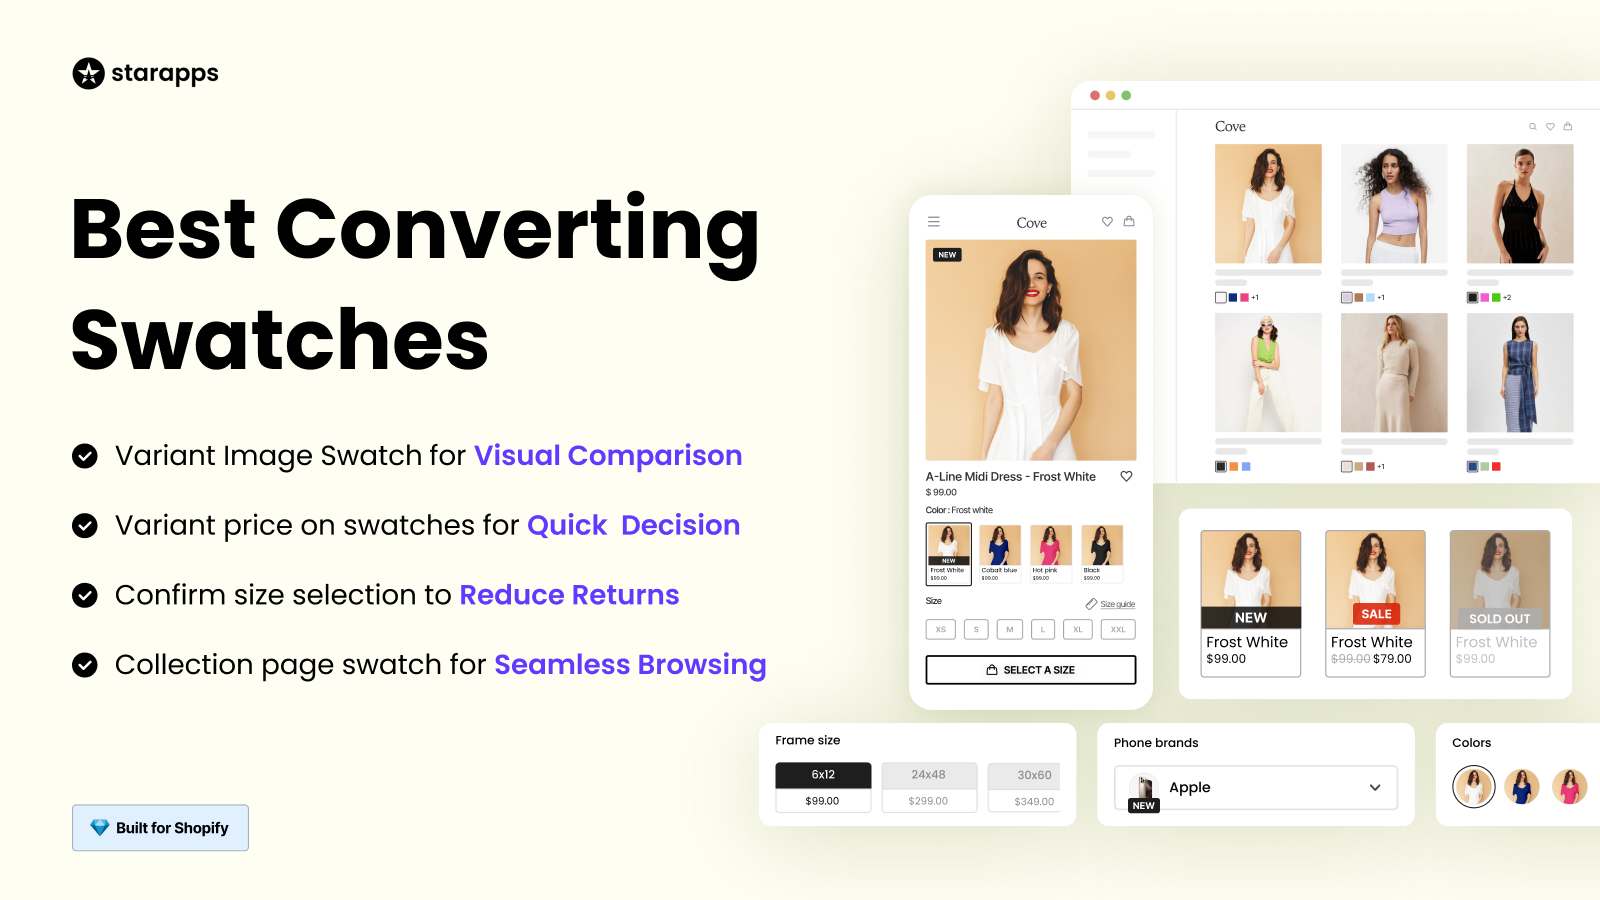
- Variant Image Automator: Automatically shows images assigned to the selected variant, eliminating visual clutter and helping customers clearly understand what they’re buying before checkout.
- Color Swatch King: Replaces dropdowns with clickable color or image swatches directly on product and collection pages, making variant selection faster and reducing missed or incorrect selections.
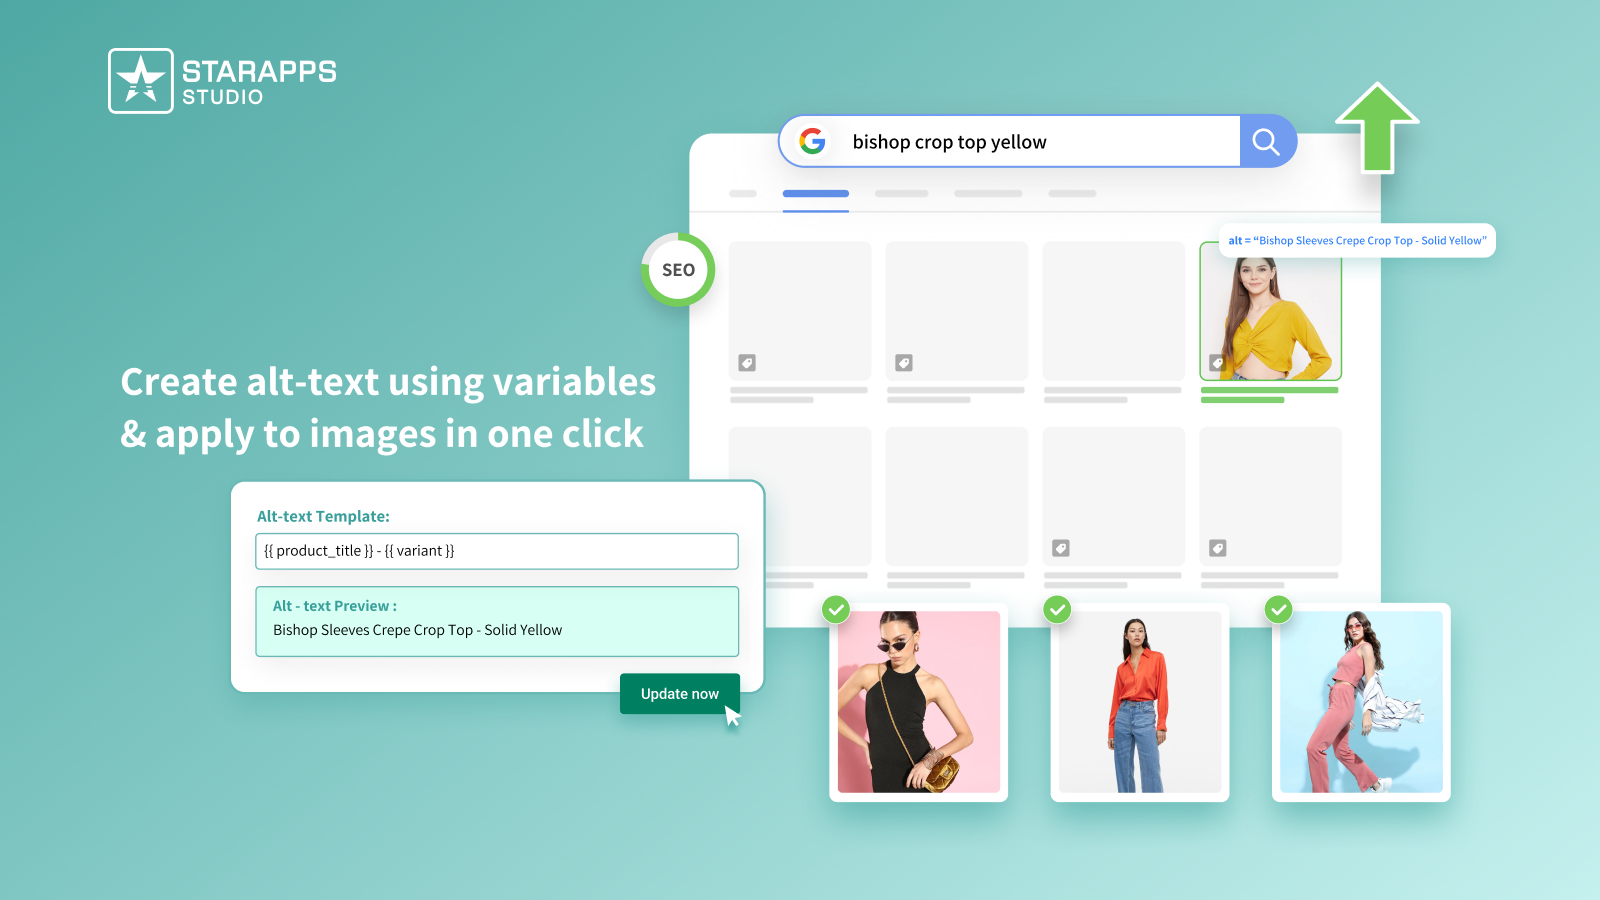
- Variant Alt Text King: Generates accurate ALT text for each variant image using product data, improving accessibility while helping search engines better understand and index your product images.
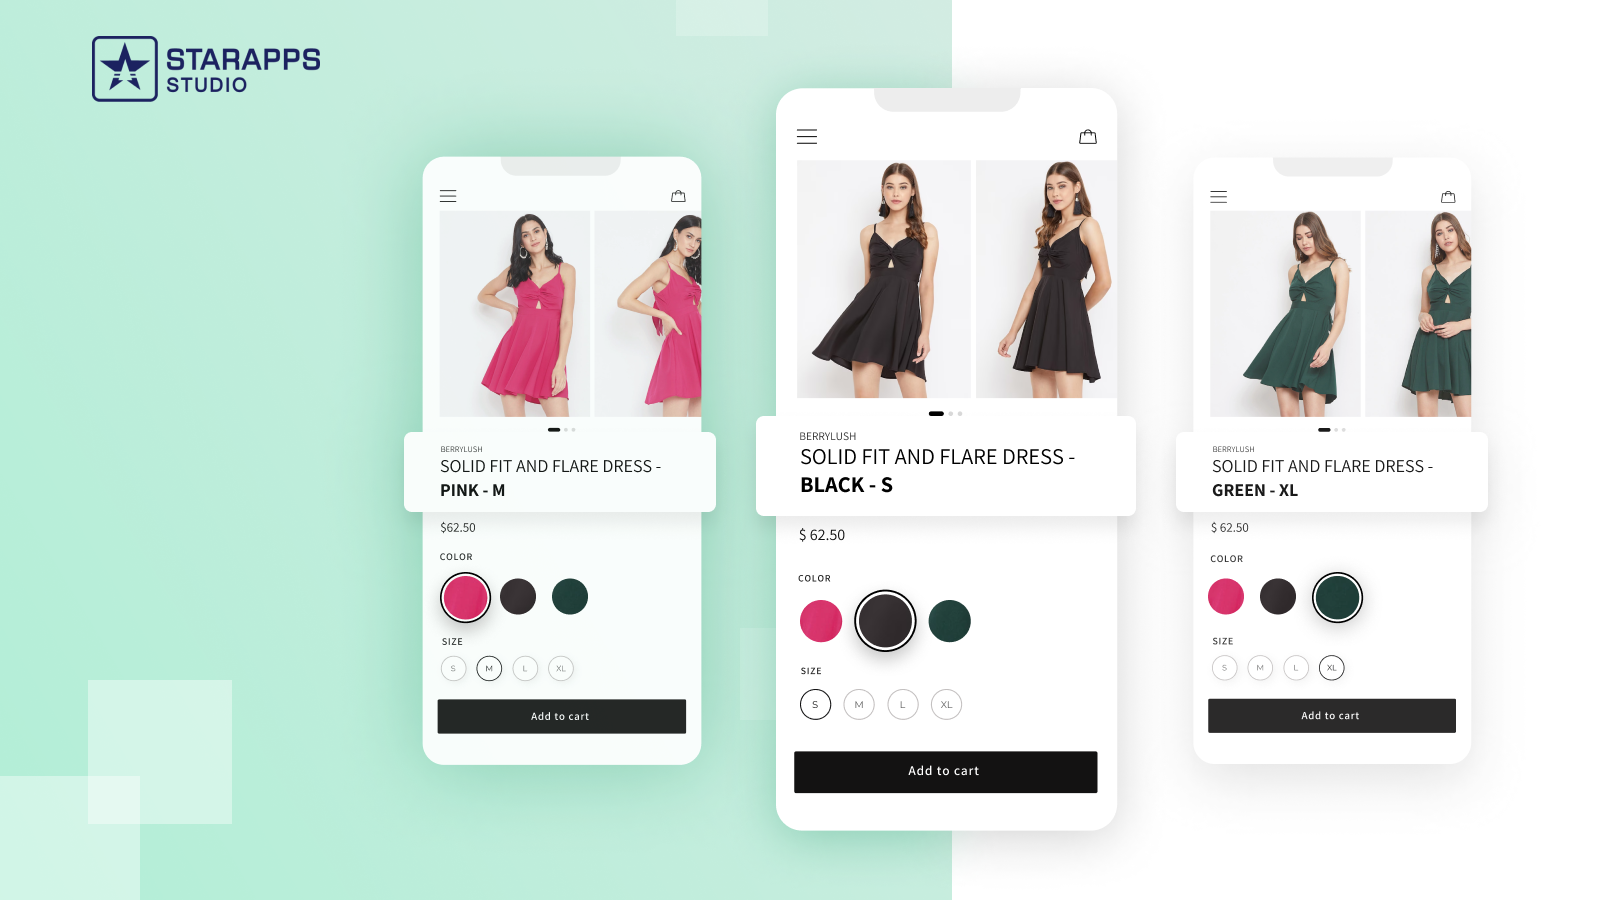
- Variant Title King: Updates product titles dynamically based on selected variants (like color or size), so customers always know exactly which version of the product they’re viewing.
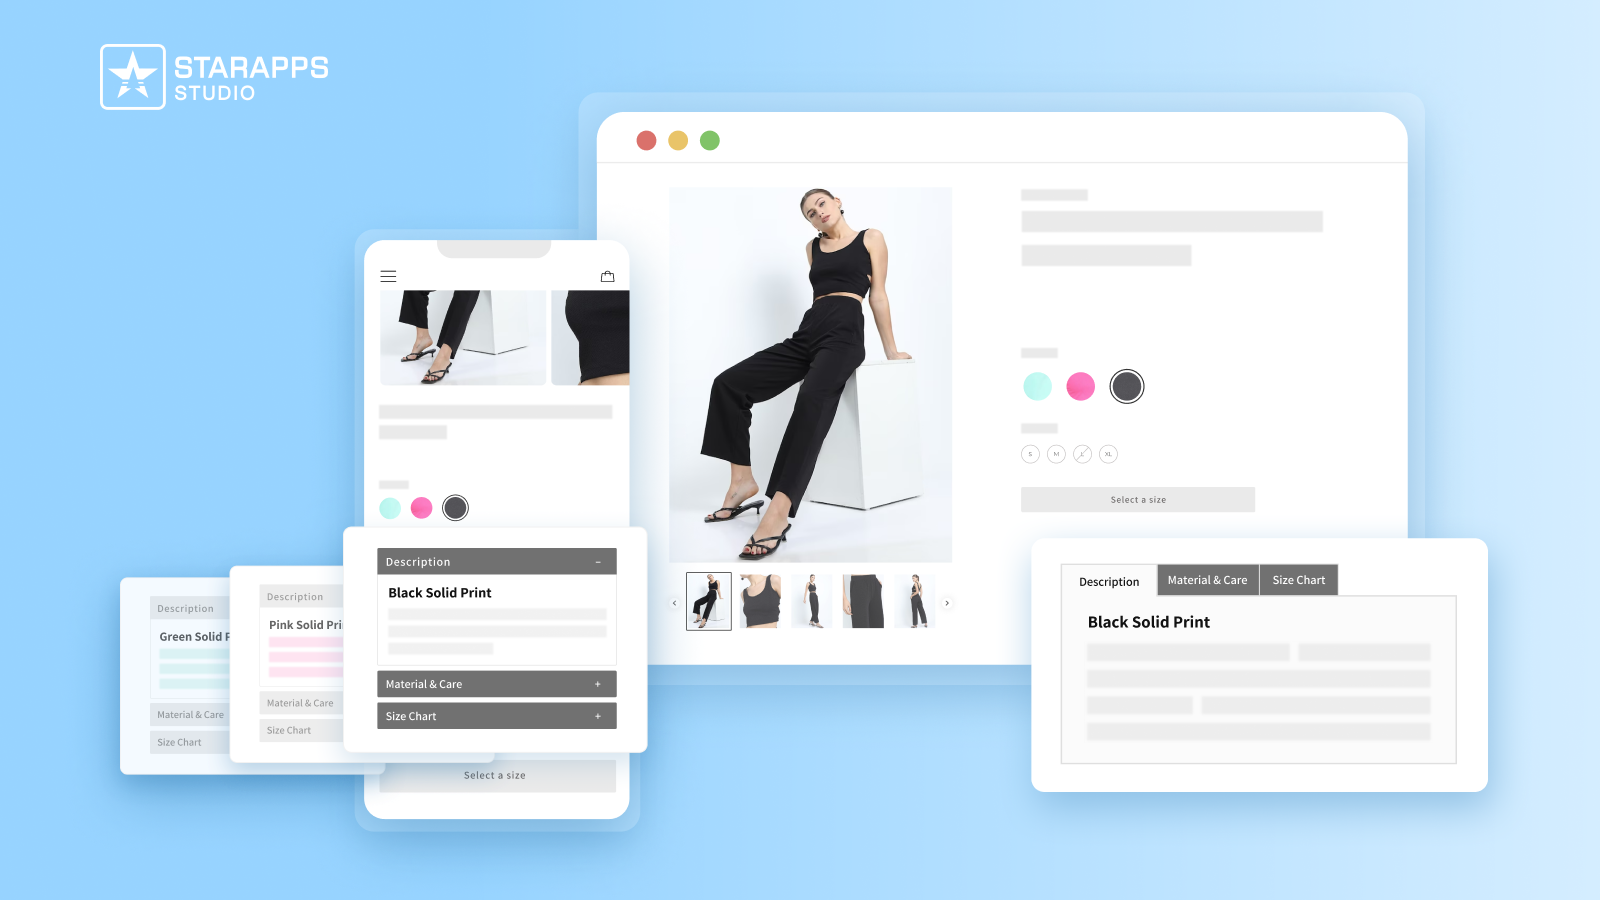
- Variant Descriptions King: Displays variant-specific details such as size info or material differences in structured tabs, reducing confusion and minimizing post-purchase returns.
When your storefront and fulfillment outputs both reflect the same level of clarity, the overall shopping experience feels more intentional and easier to trust.
Conclusion
Adding a logo to your Shopify packing slip turns a plain fulfillment document into a branded touchpoint that travels with every order. It’s a simple template edit that closes the gap between what customers see online and what they receive physically without disrupting your existing workflow or order data.
For Shopify stores managing multiple variants or large catalogs, consistency shouldn’t stop at packing slips. StarApps Studio focuses on improving how product variants are displayed and selected across storefronts. This makes selection clearer, reduces confusion, and creates a more structured shopping experience that aligns with your brand.
If your store still feels inconsistent across key touchpoints, it might be time to review what’s missing. You can reach out to the StarApps team to identify small changes that can improve clarity and consistency across your store.
FAQs
1. Can I add a PNG logo to Shopify packing slips?
Yes, Shopify supports adding a PNG logo by uploading it to Settings → Files and referencing it in the packing slip Liquid template using file_url. PNG is preferred because it preserves transparency and prints cleanly across A4 and thermal formats.
2. Why is my Shopify packing slip logo blurry?
A blurry logo usually occurs when the uploaded image has low resolution or insufficient pixel density for print. Shopify scales images during printing, so files below ~1000px width may appear soft or pixelated, especially on A4 or high-DPI thermal printers.
3. Can I edit the Shopify packing slip template safely?
Yes, Shopify allows safe customization through the packing slip Liquid template in admin settings. Edits only affect printed slip output and not order data or checkout flow. However, incorrect Liquid syntax or broken HTML can impact rendering, so preview before saving.
4. Does Shopify support HTML in packing slips?
Yes, Shopify packing slip templates support basic HTML elements like tables, divs, images, and headings combined with Liquid variables. However, advanced CSS frameworks, JavaScript, and external scripts are not supported, so all styling must remain lightweight and print-compatible.
5. Can I reset the Shopify packing slip template to the default?
Shopify does not provide a one-click reset button for packing slips. To restore default formatting, you must manually replace your custom code with Shopify’s original template structure from a clean version, effectively reverting all edits to the default layout.
Heading

End-to-end traceability
To ensure regulatory compliance, you must have a complete overview of your products from production to shipping. Book a demo to see how Katana can give you full visibility of your operations.
.png)
.png)