How Do You Build Flexible Catalogs With Shopify Custom Code Variants?

Overcome Shopify variant limits with custom code. See what Shopify custom code variants can do for layouts on Shopify. Click to transform your store!
Every catalog decision you make shapes how quickly a shopper finds the right product. Yet 76% of users leave stores where product selection feels slow or confusing.
Shopify now allows up to 2,048 variants per product, a major increase from prior limits, giving merchants more flexibility when managing complex SKU sets.
But even with this expanded variant capacity, stores still face UI constraints and UX challenges without customisation. In this blog, you’ll learn how Shopify custom code variants work, why it matters for your growth, and how to implement it effectively to build catalogs that scale without compromising experience.
Key Takeaways
- Shopify’s native variant model is data-driven, but most custom code operates only at the DOM layer, which is why variant logic breaks during theme updates and app conflicts.
- Custom variant scripts fail at scale due to state drift, race conditions, and selector dependency, issues that compound as catalogs and traffic grow.
- JavaScript-driven variant changes are invisible to search engines, limiting SEO and preventing true variant-level discovery.
- Stable variant systems must live in Shopify’s data and rendering layer, not in event listeners and DOM mutations.
- StarApps replaces fragile scripts with infrastructure built directly on Shopify’s variant architecture, ensuring accuracy, performance, and long-term reliability.
What Are Shopify Product Variants?
In Shopify, a product variant represents a unique version of a product created by combining up to three options, such as color, size, and material. Each variant has its own SKU, price, inventory level, image, and fulfillment rules. For example:
By default, Shopify products support up to three options, such as color, size, and style, with a maximum of 2,048 variant combinations. All of these variants live under a single product page, sharing the same layout, content structure, and core merchandising elements.
This means every variant inherits the same descriptions, sections, and presentation logic, even when different versions of the product need distinct imagery, specifications, or messaging to convert effectively.
This works well for simple catalogs. But as your product range grows, these limits create friction:
- All variants share the same description, layout, and logic
- Dropdowns become long and hard to scan
- Variant-specific images, specs, or messages require workarounds
- Collection pages show only one “parent” product, hiding the real choice.
Custom code becomes relevant when your catalog needs to behave differently per variant, without breaking performance or forcing shoppers through extra clicks.
Why Use Custom Code for Shopify Variants?
Custom code becomes relevant when your variants need to behave differently, not just look different. It gives you control over how each option is presented, described, and interacted with, beyond what Shopify’s native system allows.
Merchants typically reach for custom code when they need to:
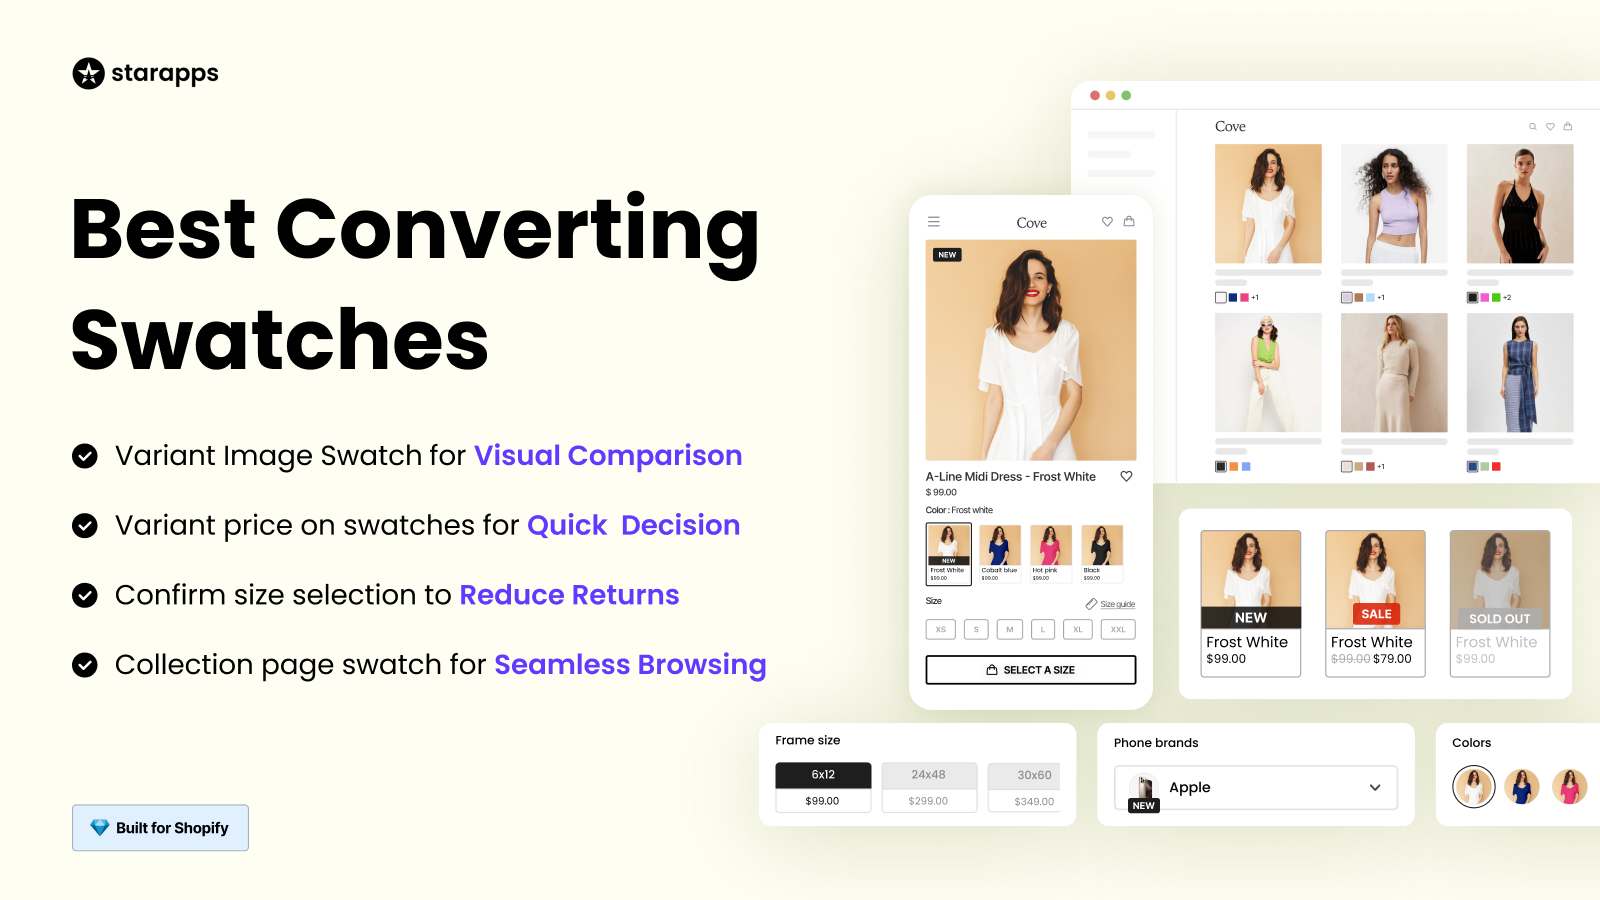
- Show different descriptions for each variant
- Change layout or sections based on the selected option
- Display variant-specific badges such as “Limited Edition” or “Pre-order"
- Reveal or hide fields, charts, or content based on selection
- Apply conditional logic that native themes cannot support
The difference becomes clear when you compare how Shopify behaves out of the box versus what becomes possible with custom variant logic.
Once you decide what each variant should control, the next step is understanding where Shopify actually stores that information, and how your theme reads it.
How Shopify Stores Variant Data, Liquid & Metafields
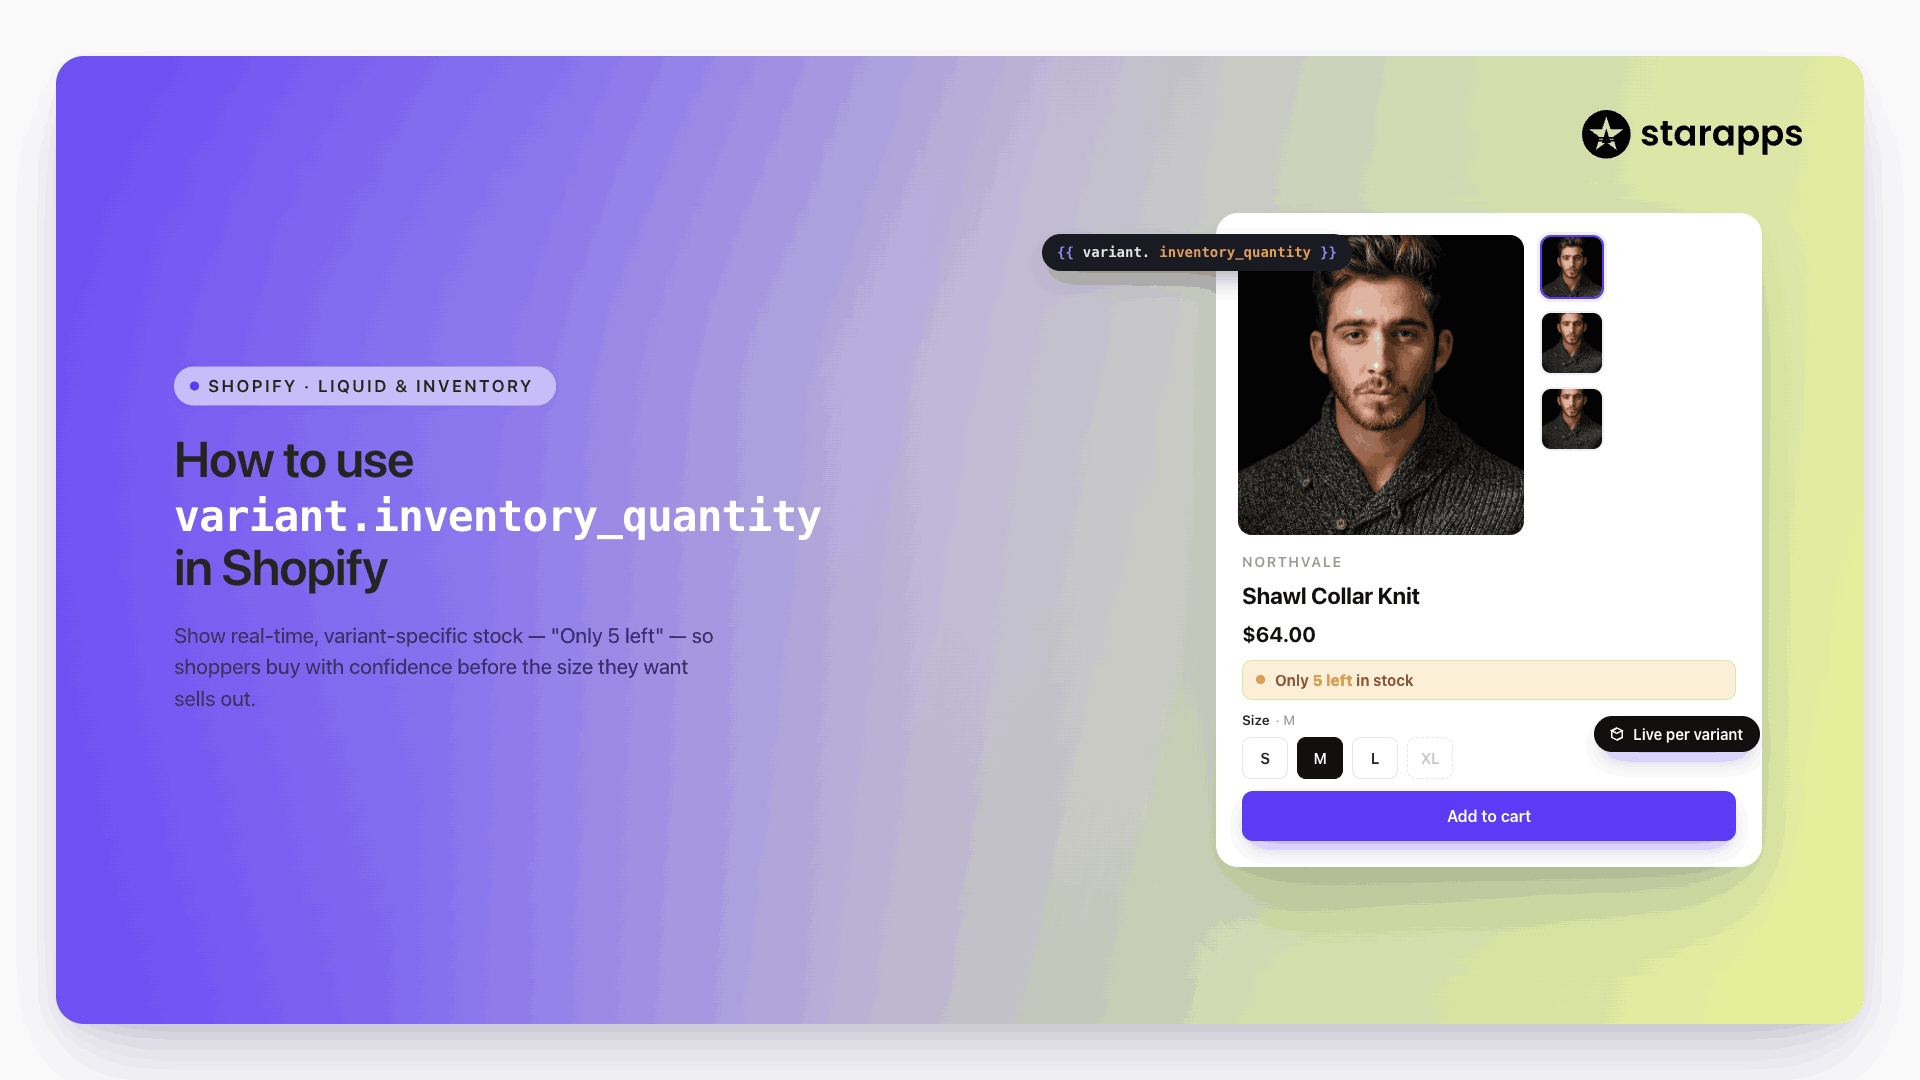
Shopify exposes variant data through two core layers: Liquid objects and metafields. Together, they define what you can display and how deeply you can customize each variant.
Shopify stores product variants (e.g., T-shirt in Small-Red vs Large-Blue) as JSON objects in its database, accessible via Liquid templates. Each variant holds ID, title, SKU, price, inventory, and options array (up to 3, like "Size|Color").
Metafields extend this with custom JSON data attached to variants for extra info like "fabric_weight" or "care_instructions".
Core storage structure:
- Liquid Access: Liquid handles variant access by outputting the complete array of variants through {{ product.variants | json }}, which displays all base fields like price and inventory but excludes metafields unless specifically requested. Developers loop through variants using {% for variant in product.variants %} to build dropdown selectors or tables dynamically on product pages without needing JavaScript.
- Metafields: It gets defined through Settings > Metafields > Products > Variants using the namespace.key format such as "custom.size_chart" or "my_fields.fabric_type", where values store as flexible JSON types.
Access these on the frontend with {{ variant.metafields.namespace.key.value }}, which returns the raw data ready for display. For example, {{ variant.metafields.custom.fabric.value }} outputs "Cotton 180gsm" directly in HTML.
At the theme level, every product includes a product.variants object. Each variant carries its own:
- id – unique identifier
- title – combined option name (e.g., “Black / Medium”)
- price and compare_at_price
- sku and inventory data
- A featured_image
- option1, option2, option3 values
Variant logic only works as well as the foundation it sits on. Before writing a single line of code, your theme needs to be prepared to handle change safely and predictably.
Preparing Your Shopify Theme for Custom Variant Code
Online Store 2.0 themes need specific edits to handle custom variant pickers and metafield displays. Duplicate your live theme first via Actions > Duplicate to test safely. Enable metafields in Settings > Metafields > Products > Variants, creating definitions like "custom.fabric" (single line text) or "my_fields.size_chart" (file reference).
Follow these 5 precise preparation steps to enable custom variant code:
Step 1: Create Metafield Definitions First.
Go to Settings > Custom data > Products > Variant. Click "Add definition. Enter namespace "custom", key "fabric_weight", select type "Number (decimal)", and add description "GSM value for variant material". Save. Now access via {{ product.selected_or_first_available_variant.metafields.custom.fabric_weight.value }} on frontend.
Step 2: Add a theme-safe output block.
Instead of editingproduct-form.liquid, add a Custom Liquid block inside the product template in the Theme Editor.
Theme Editor → Products → Default product → Add block → Custom liquid
<div
class="variant-metafields"
data-default="Standard"
>
{{ product.selected_or_first_available_variant.metafields.custom.fabric_weight.value | default: 'Standard' }} GSM
</div>
Save. Variant changes now update the metafield display automatically.
Step 3: Expose variant metafields to JavaScript
Modern themes only pass core variant fields to JS. You must serialize the metafield yourself.
Add this once in theme.liquid, just before </body>:
<script>
window.variantMetafields = {
{% for variant in product.variants %}
"{{ variant.id }}": {
fabric_weight: {{ variant.metafields.custom.fabric_weight.value | json }}
}{% unless forloop.last %},{% endunless %}
{% endfor %}
};
</script>
Step 4: Listen for variant changes (OS 2.0–compatible)
Dawn-style themes dispatch a variantChange event on the document. Add below the script above:
.<script>
document.addEventListener('variantChange', function (event) {
const variant = event.detail.variant;
const box = document.querySelector('.variant-metafields');
if (!box || !variant) return;
const data = window.variantMetafields?.[variant.id];
const value = data?.fabric_weight || box.dataset.default;
box.textContent = value + ' GSM';
});
</script>
Step 5: Styling.
Create variant-picker.css and add:
.variant-metafields {
font-weight: 500;
color: #666;
margin: 10px 0;
padding: 8px;
background: #f9f9f9;
border-radius: 4px;
}
Link it in <head>:
{{ 'variant-picker.css' | asset_url | stylesheet_tag }}
With your theme prepared, the next step is to teach it to recognize each variant and display the right information at the right moment.
Using Liquid to Render Variant-Specific Data
Liquid is Shopify’s server-side language. It determines what loads on the page before a customer interacts with it. This is where variant logic begins.
Every product exposes a product.variants object. Each variant contains its own attributes, such as price, SKU, option values, and image. Liquid lets you loop through these variants and attach meaning to them at render time.
You typically use Liquid to:
- Output variant names and option values
- Preload variant-specific content blocks
- Bind metafield data to each variant
- Structure HTML so JavaScript can react later
Liquid defines what exists on the page. JavaScript decides what changes when a shopper interacts with it.
Using JavaScript to Handle Variant Changes
JavaScript is what turns static variant data into a live, responsive experience. It listens for changes in the variant picker and updates the page as soon as a customer selects a new option.
In modern Shopify themes, a variant change triggers a custom event that exposes the core variant object, ID, price, image, SKU, and availability. Metafields are not included by default, so they must be explicitly surfaced from Liquid. Your script should also avoid relying on a single, undocumented event name,
JavaScript is typically used to:
- Swap the product gallery to the selected variant’s images
- Update price blocks and savings labels in real time
- Show or hide variant-specific sections
- Replace text blocks, such as fit notes or specs
- Toggle badges like “Low stock” or “Pre-ordered.r”
Once variants become dynamic, even small errors can quietly break pricing, images, or add-to-cart behavior. Testing is what keeps flexibility from turning into friction.
Testing Your Custom Variant Implementation
Test the variant code across 5 product scenarios on the duplicated theme before publishing. Use Chrome DevTools Console (F12) to monitor variant: changed events firing correctly. Verify cart submits exact variant ID via Network tab → POST /cart/add.js payload. Test mobile first; most Shopify checkouts fail on small screens without responsive selectors.
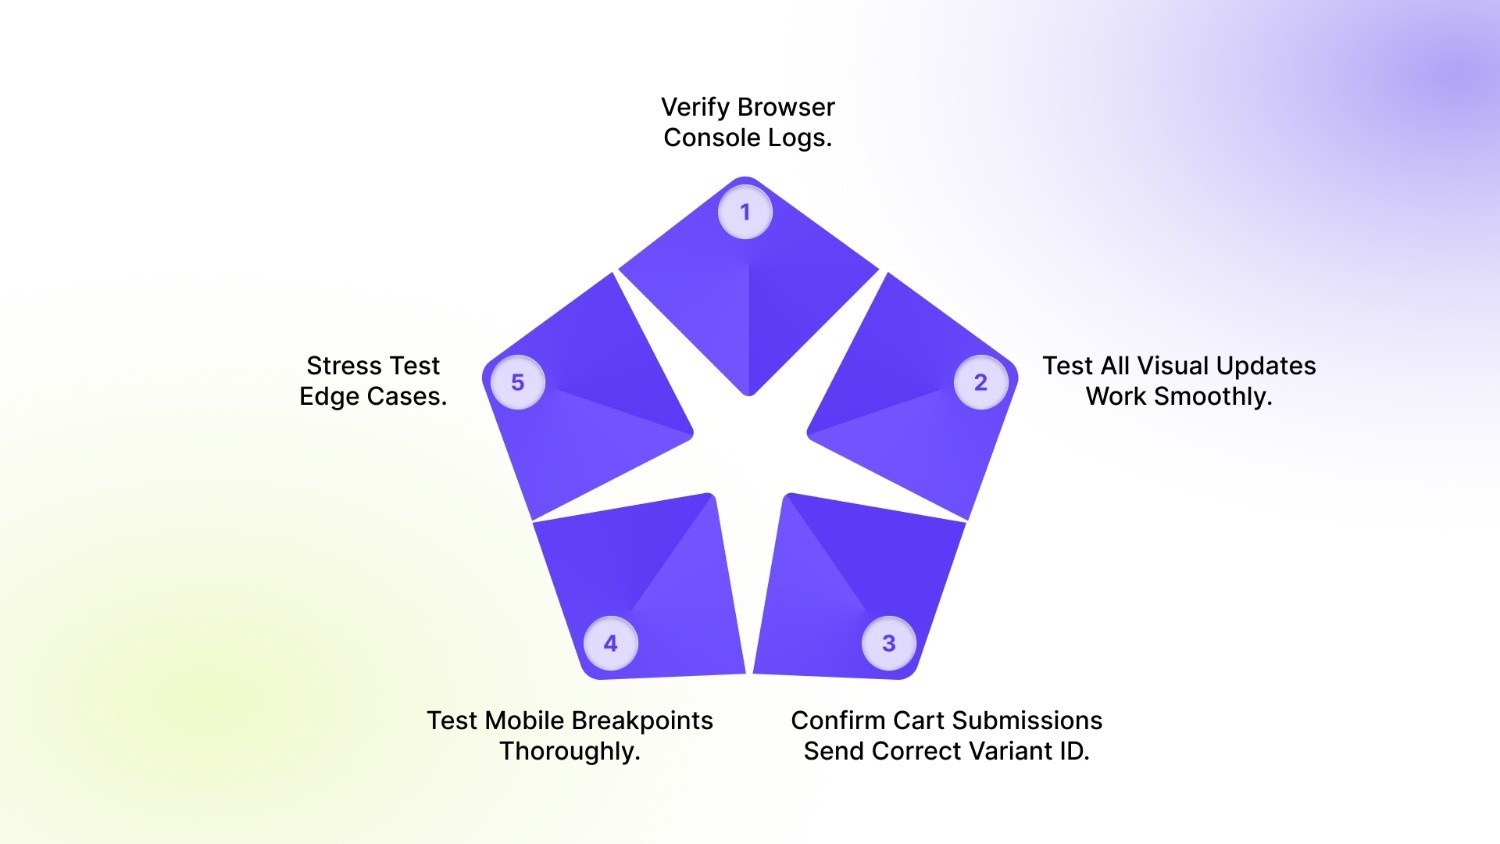
Here’s the 7-step testing checklist:
Step 1: Verify Browser Console Logs.
Open Chrome DevTools and go to the Console tab. Select different variants on your product page and confirm that the exact messages "variant:changed fired for ID 456789123", "Price updated to USD 81.00", and "Metafields: fabric_weight=180" appear.
If no JavaScript errors show in red, your event listener works correctly.
Step 2: Test All Visual Updates Work Smoothly.
Check that when customers select "Large/Blue", the price instantly changes to USD 95 in 500 milliseconds with proper currency formatting. Verify the main product image and thumbnails swap immediately when clicking Red to Blue swatches.
Confirm "Fabric 180GSM" appears only for variants with that metafield populated, and the Add to Cart button properly disables with "Out of stock" messaging for unavailable variants.
Step 3: Confirm Cart Submissions Send Correct Variant ID.
Add three different variants to cart and check Network tab shows POST request to /cart/add.js contains id: 456789123 (the exact variant ID number, never the product ID). Open the cart drawer and verify that it displays the correct variant title, price, and metafield summary, such as "Cotton 180gsm".
Step 4: Test Mobile Breakpoints Thoroughly.
Resize the browser to the iPhone 12 viewport (390x844px) and confirm that swatches stack vertically while dropdowns expand full-width. Verify all touch targets measure at least 44 pixels tall. Rapidly tap swatches 10 times; the cart should not receive duplicate ads.
Step 5: Stress Test Edge Cases.
Load product with 100+ variants and confirm that the page loads in under 3 seconds with smooth scrolling selectors. Select zero-inventory variants and verify that all checkout messaging prevents purchase. Visit URL with ?variant=456789123 parameter, correct option auto-selects. Use the browser back button, variant state persists correctly.
Once your variant system is live, the real challenge is not building it; it is keeping it reliable as products, themes, and apps evolve.
Common Issues With Custom Variant Code
Most failures do not appear during development. They surface weeks later when catalogs grow, themes update, or new apps inject scripts. These are the patterns that cause real storefront damage.
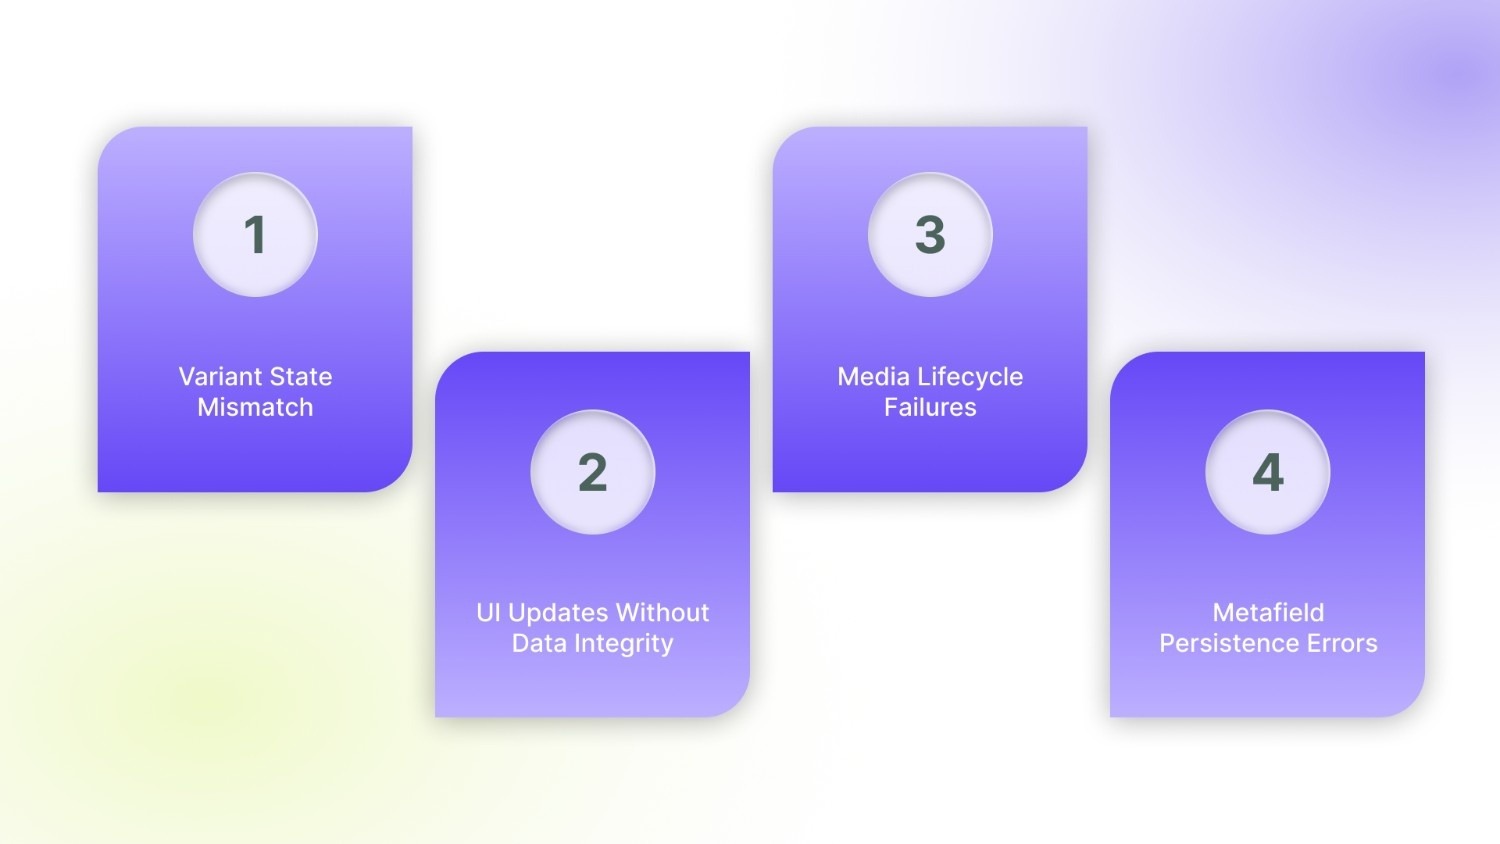
1. Variant State Mismatch
This issue occurs when the storefront displays one variant, but a different SKU is added to the cart. It is usually caused by event handlers bound to outdated DOM nodes, multiple scripts mutating the same selectedVariant state, or race conditions during rapid option changes.
When this happens, the variant.id no longer matches the selected options. Analytics data becomes unreliable, and customers receive the wrong product even though they made the correct choice. These errors are difficult to detect in testing but have a direct impact on fulfilment accuracy and customer trust.
2. UI Updates Without Data Integrity
Here, the interface reacts to variant changes, but the underlying data does not. Prices, stock status, or badges update visually while the internal variant state remains unchanged. This is usually caused by:
- Price nodes are being updated in isolation
- Inventory checks are bound only to the default variant
- Conditional blocks are not re-evaluated on change
The result is misleading storefront behavior, sold-out variants appear purchasable, discount labels persist across options, and quantity limits fail per SKU.
3. Media Lifecycle Failures
Variant galleries should reset on every change. When they do not, images from previous variants linger. This happens when:
- Images are appended instead of replaced
- Sliders reinitialize without teardown
- Cleanup logic runs only on first load
Customers then see mixed images, broken zoom states, or incorrect thumbnails, especially damaging on mobile, where visual accuracy drives conversion.
4. Metafield Persistence Errors
Variant-specific content remains visible after switching. Typical causes include:
- Liquid rendering only at page load
- JavaScript injecting content without diffing
- Missing fallback logic
This leads to size guides, care instructions, or specs appearing for the wrong SKU, creating confusion and, in regulated categories, compliance risk.
By this point, one pattern becomes clear: every layer of custom variant logic increases the surface area for breakage. What starts as a simple enhancement quickly becomes a fragile system that must withstand theme updates, app injections, and storefront rewrites.
Where Custom Code Stops Scaling And How StarApps Closes the Gaps
Custom code gives you control, but it rarely gives you durability. Variant logic must remain stable across theme upgrades, Shopify API changes, and third-party apps. This is where purpose-built systems outperform handcrafted scripts.
StarApps Studio tools replace brittle logic with production-grade variant infrastructure, tested across thousands of live stores. StarApps tools operate at the data and rendering layer. This shift removes the fragility that defines most hand-built variant systems.
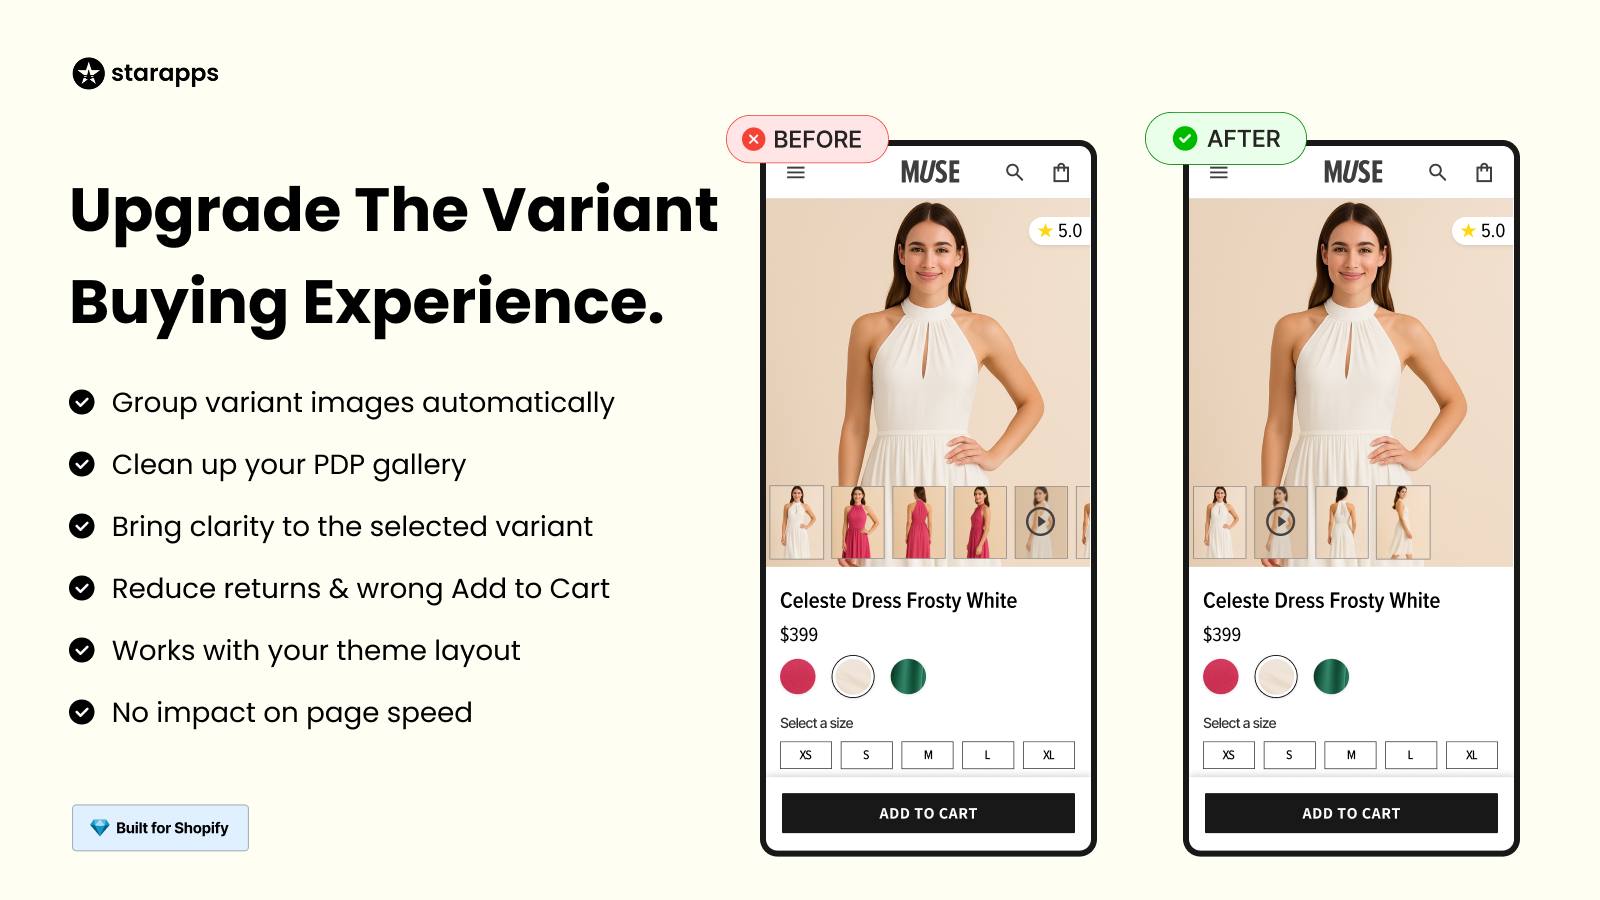
- Variant Image Automator: Replaces manual image tagging and event-driven gallery logic. It assigns images at the variant level in Shopify’s data model, ensuring the gallery always reflects the selected SKU, without race conditions or broken zoom states.
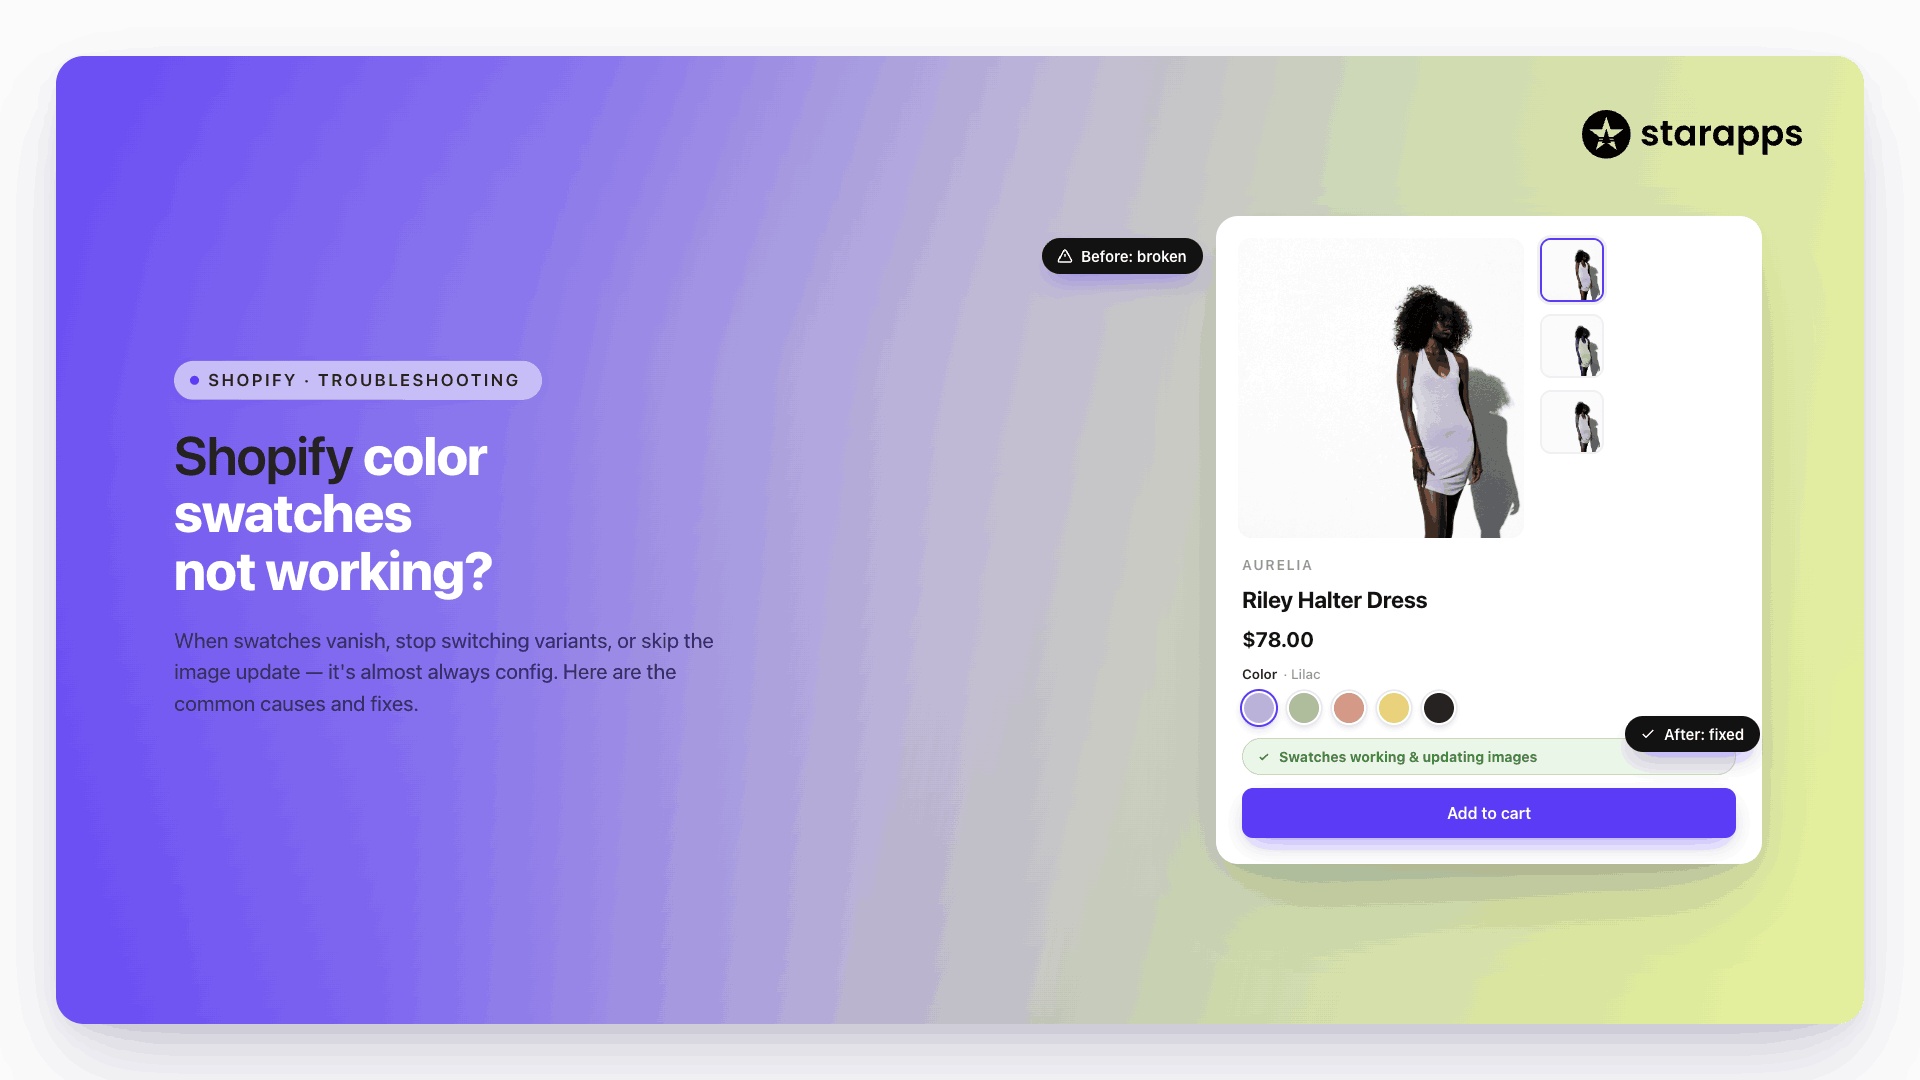
- Color Swatch King: Eliminates DOM-heavy swatch rendering. Swatches are injected natively across product and collection pages, with built-in handling for availability, pricing, and labels. No custom listeners. No selector drift after theme updates.
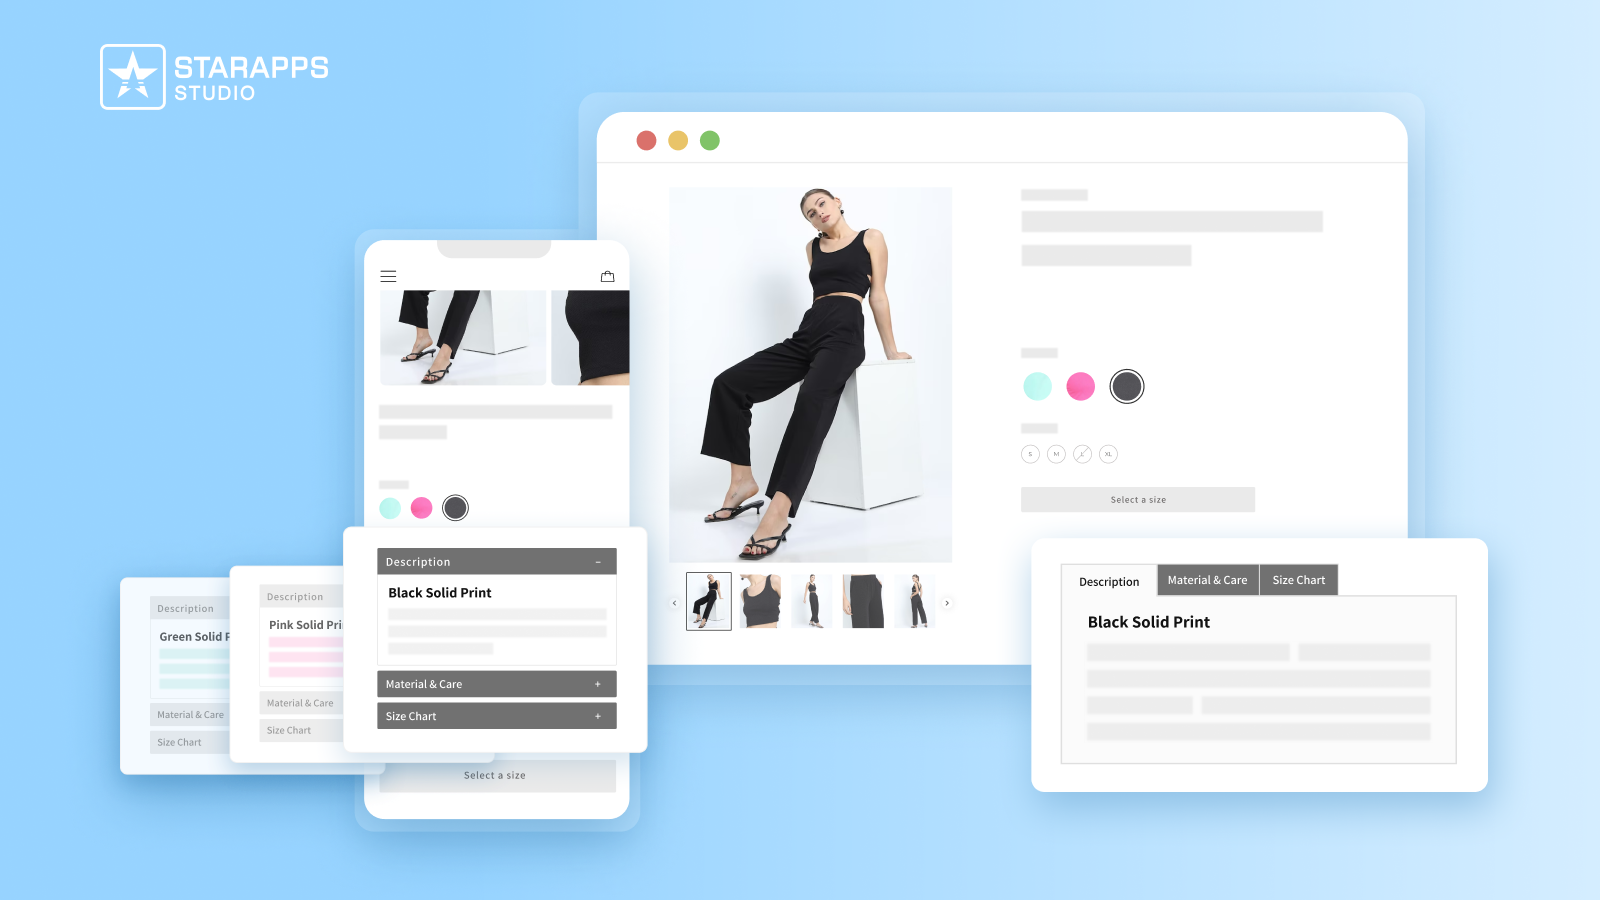
- Variant Descriptions King: Moves variant content from runtime JavaScript injections into structured rendering. Size guides, specs, and compliance content switch cleanly per SKU, preventing content bleed between variants.
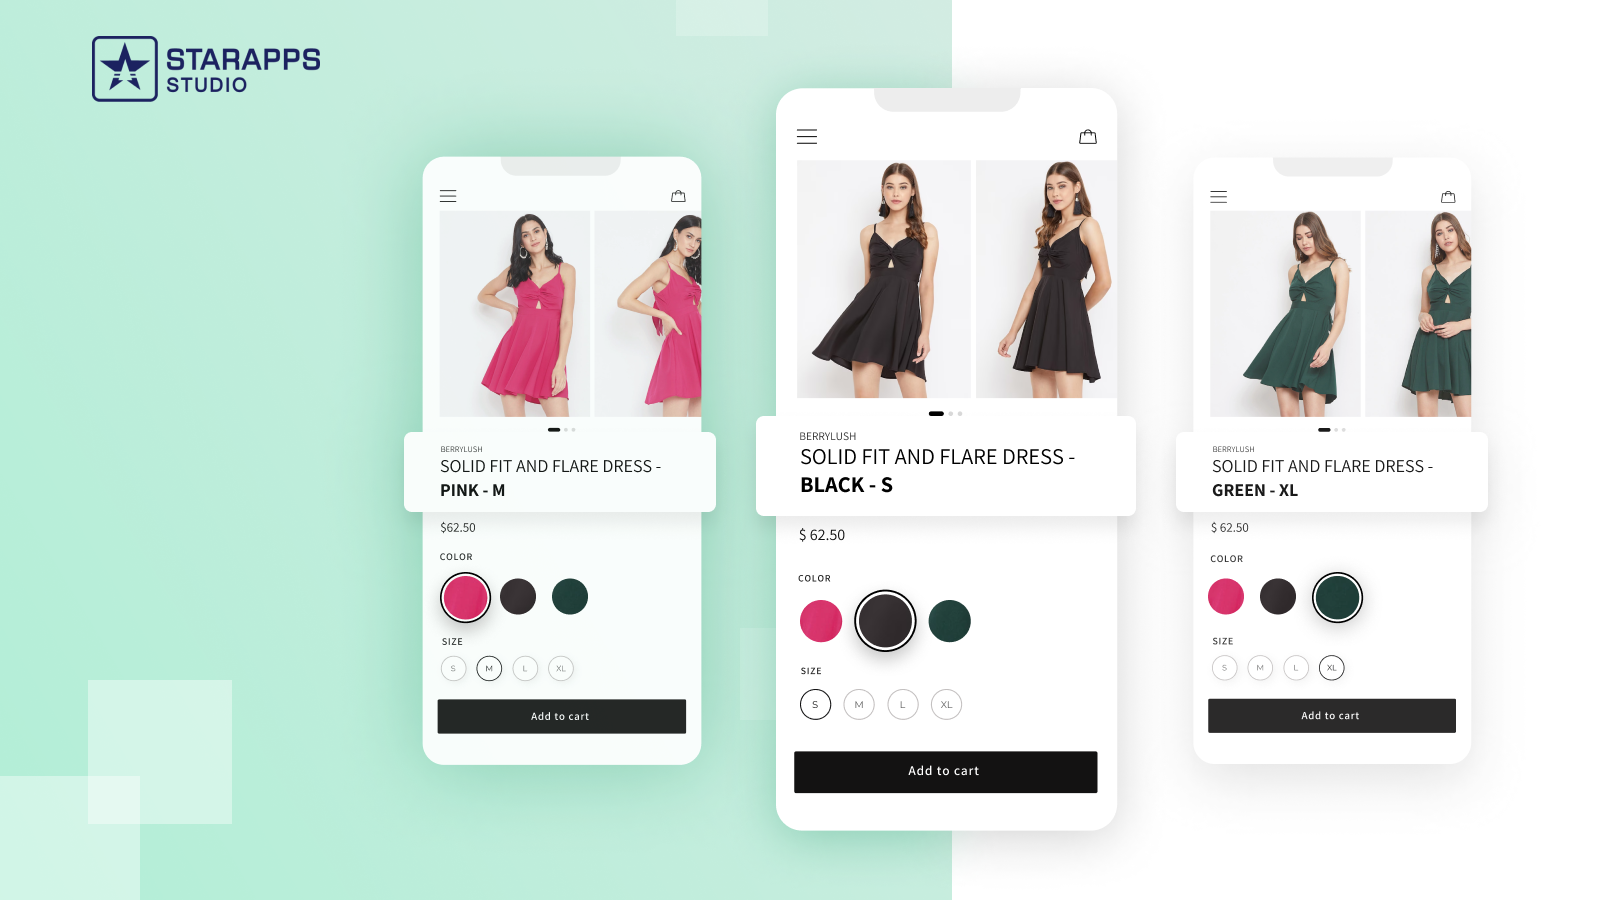
- Variant Title King: Replaces string manipulation hacks with real-time, template-driven titles that update at the variant level. Titles stay aligned across PDPs, carts, and analytics events.
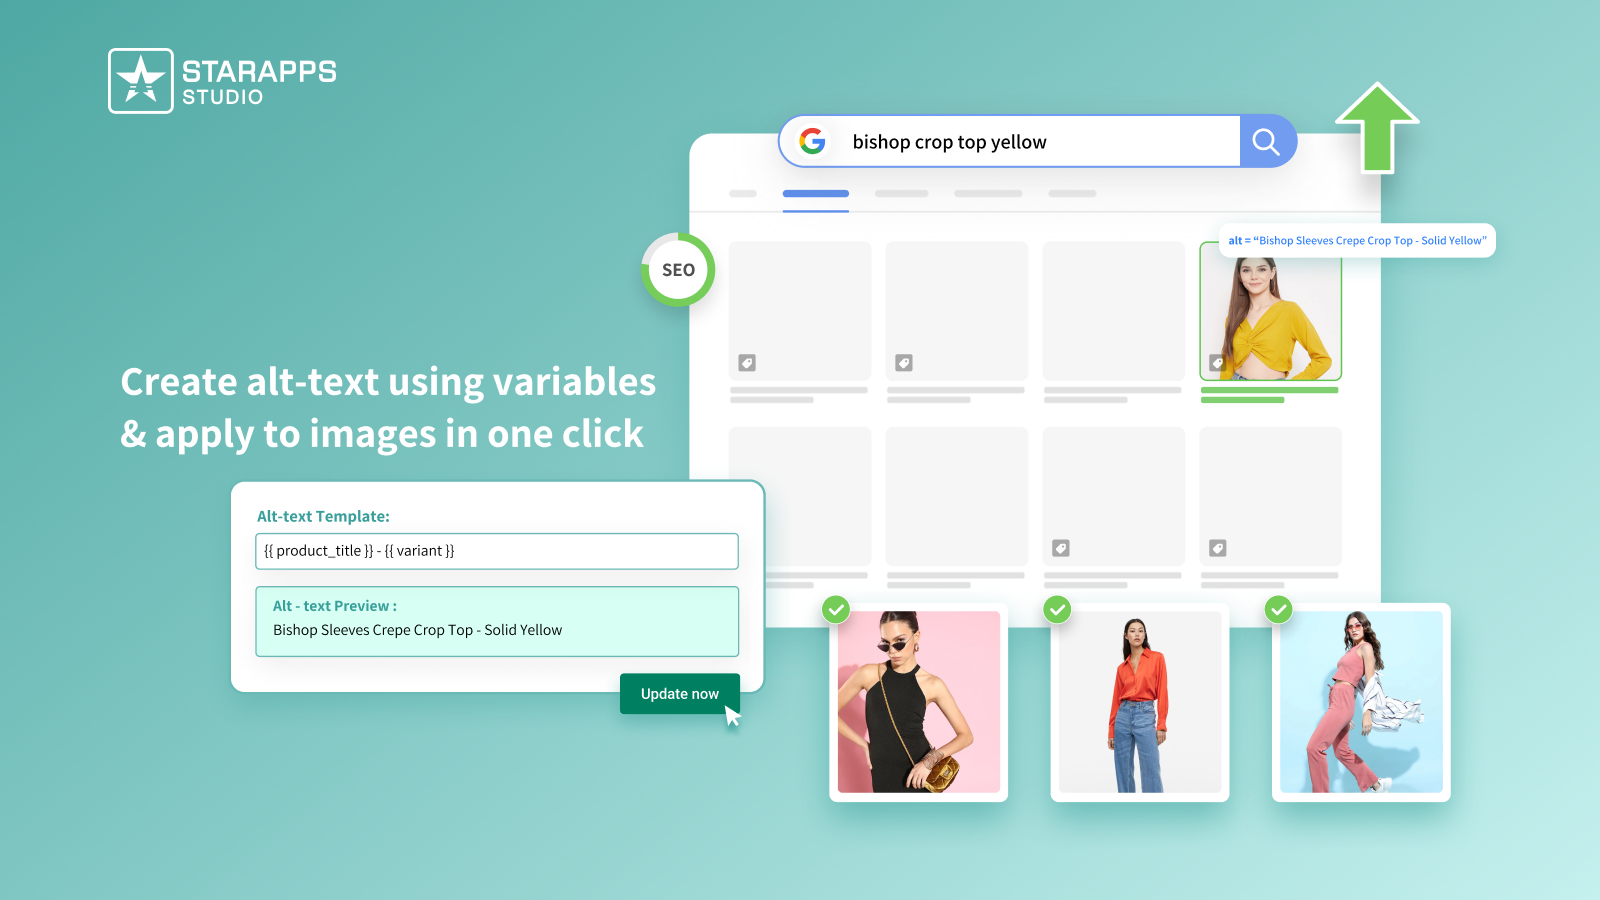
- Variant Alt Text King: Automates accessibility and image SEO by syncing ALT text daily from variant data and metafields. No scripts. No manual rules. No risk of stale metadata.
If your store is growing beyond what custom scripts can reliably handle, it is time to move variant logic out of the DOM and into purpose-built infrastructure.
Explore StarApps’ variant solutions and build catalogs that scale with confidence.
Summing Up
Custom code can extend Shopify’s variant system, but it also introduces fragility—state mismatches, broken galleries, SEO gaps, and ongoing maintenance. As catalogs grow, these risks compound.
The most reliable path forward is to separate presentation from variant logic. Use custom code only where it adds true value, and rely on purpose-built systems for everything that must remain stable at scale.
StarApps gives you that foundation. Each app is designed around Shopify’s native variant architecture, ensuring speed, accuracy, and long-term compatibility across themes and updates.
Build catalogs that adapt, not break.
Contact StarApps' today and future-proof your storefront.
FAQs
1. Can custom variant code affect Shopify app compatibility?
Yes. Many apps rely on Shopify’s native variant events. Overridden selectors or custom state logic can prevent upsell, search, or analytics apps from detecting the active variant correctly.
2. Does custom variant code impact store performance?
It often does. Variant-heavy scripts run on every option change, re-render DOM blocks, and rebind events, which increases layout shifts and JavaScript execution time on large catalogs.
3. Is custom code safe across Shopify theme updates?
No. Theme updates frequently rename selectors and restructure templates. Custom variant logic tied to those elements can silently break after an update.
4. Can custom code handle variant-level SEO properly?
Not reliably. JavaScript-driven changes do not create crawlable URLs or indexable content. Search engines still see a single product page.
5. When should a store avoid custom variant code entirely?
If your catalog exceeds a few hundred SKUs, relies on multiple apps, or requires SEO visibility per variant, custom code becomes a liability rather than a solution.
Heading

End-to-end traceability
To ensure regulatory compliance, you must have a complete overview of your products from production to shipping. Book a demo to see how Katana can give you full visibility of your operations.

.png)
.png)